

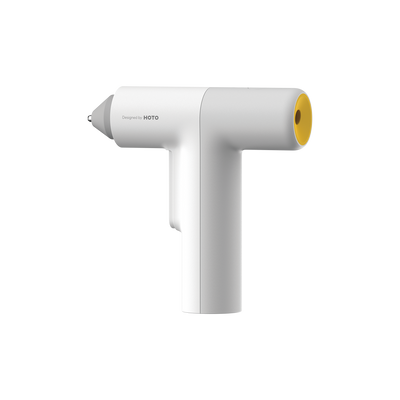


How to Use a Drill | HOTO 12V Drill for Beginners
Learning how to use a drill is an important skill for any homeowner. Power drills may seem intimidating, so start with the basics. They’re fairly simple to operate. Using a drill allows you to take on a greater variety of DIY projects.
This guide will outline the basics of how to use a power drill. It will also cover the parts of a drill. You’ll learn how to change a drill bit as well. Read on to get a handle on this basic DIY power tool.
Parts of a Drill
Every power drill has the same basic anatomy. Get familiar with the parts of a drill to feel more comfortable using one.
 [SHOP HOTO 12V ELECTRIC DRILL]
Here are the compulsory parts of the drills that we need to learn about before starting our projects:
Drill/Screw bits: These determine the outcome of designated projects.
- Drill bits are used for making holes and its material and hardness determine its effectiveness in drilling metal or wood.
- The size of the drill bit also determines the size of the hole.
- Screw bits are used for driving different types of screws.
- The bit is inserted into the chuck, which bores a hole and screws in a screw.
Chuck: This is the adjustable part of the drill that holds the bit.
- Hold the bit securely in place.
- Turn the chuck to lock it tight or turn it backwards to loosen it.
Trigger: Squeeze this piece to operate the drill and release it to stop.
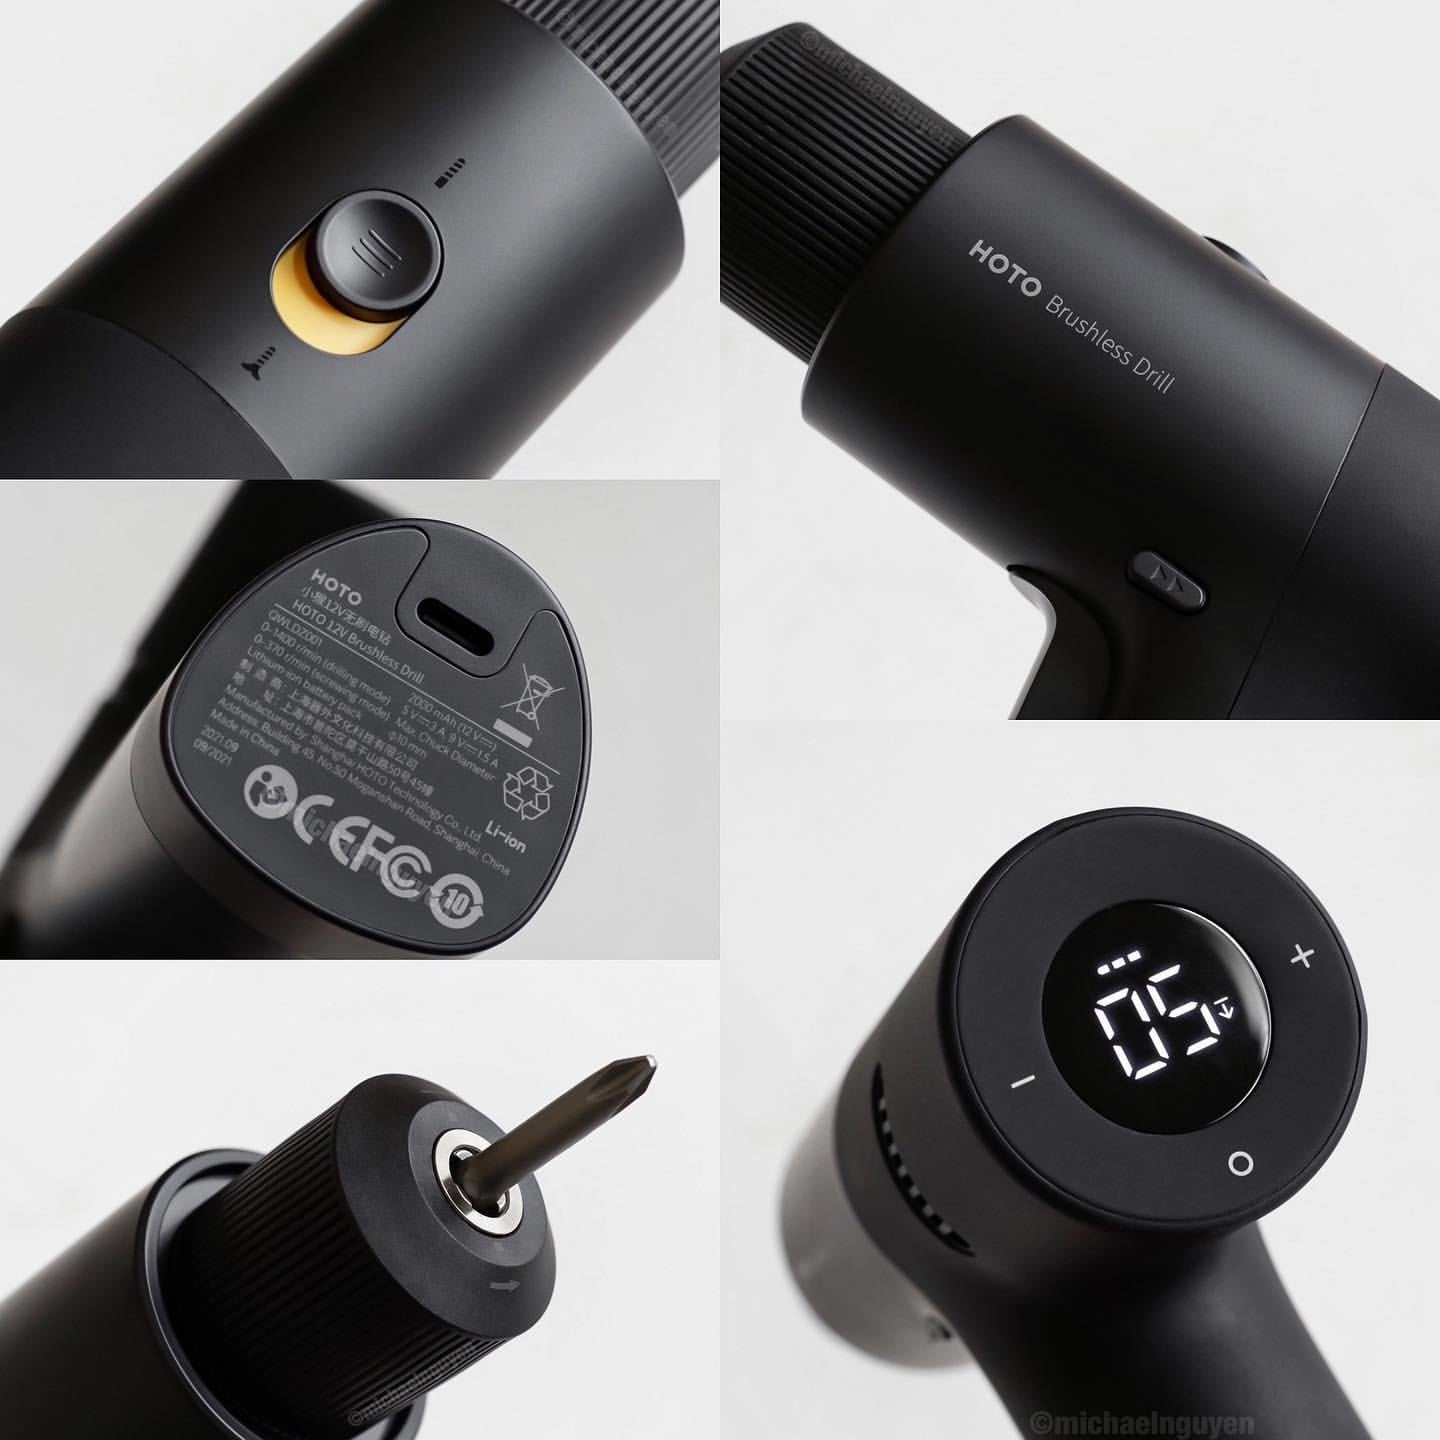
Torque Selection: Press the +/- button to increase or decrease the drill's power and speed.
- Use higher power for drilling.
- Stick with lower power for driving screws.
Forward/reverse/lock: This is a switch or button that changes the direction of the drill bit’s rotation.
- Keep it forward and going clockwise to tighten screws or drill a hole.
- Toggle to reverse when removing a screw. The rotation goes counter-clockwise in reverse.
- Put the drill in reverse to extract the drill bit from the hole you just drilled.
Built-in Battery (Type-C Rechargeable): This is the power source for your drill.
- Some drills are corded and plug into the wall.
- Most power drills have a rechargeable battery pack, or built-in battery design.
How to Choose a Basic Drill/ Screw Bit
 [SHOP HOTO 12V ELECTRIC DRILL]
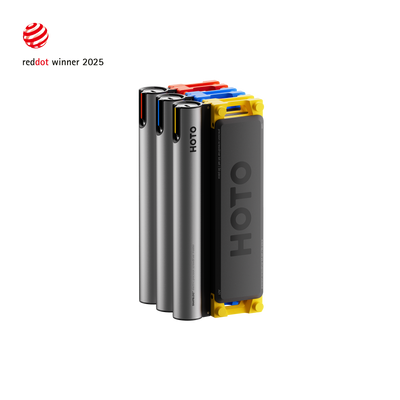
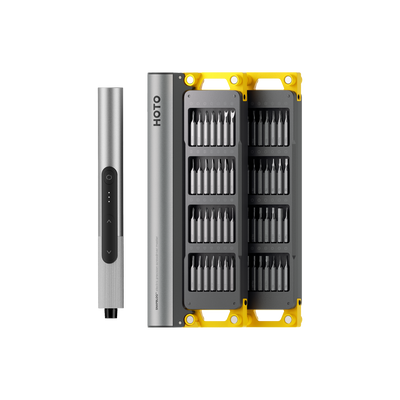
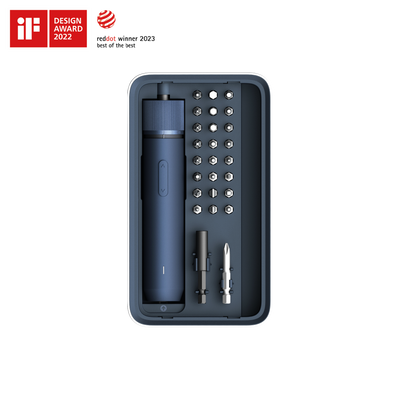
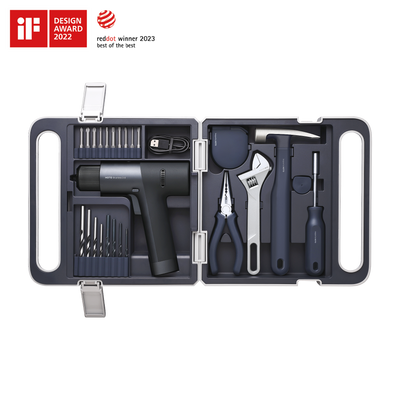
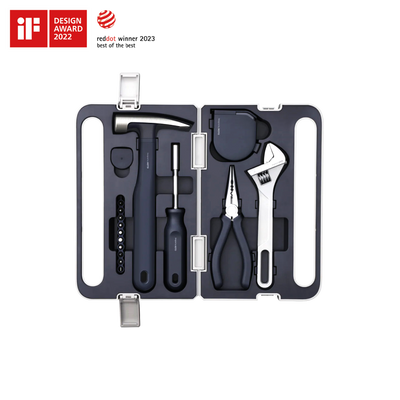
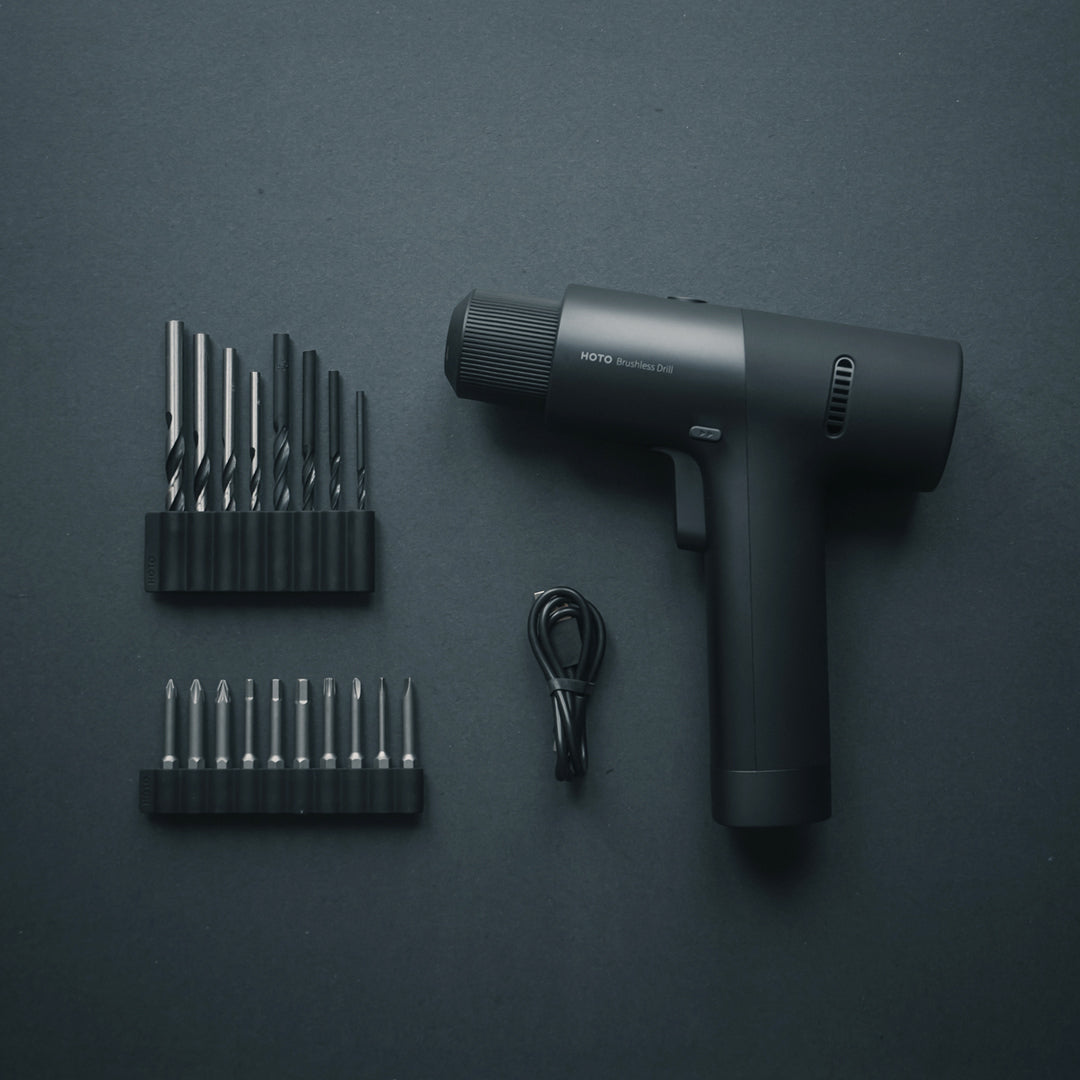
When learning how to use a drill, start with the drill bit. The type of bit you use will depend on the task at hand. The HOTO 12V Drill Toolbox includes essential drill and screw bits that cover most project needs, including 4 silver drills for metalwork and 4 black drills for woodwork.
- Drill bits, in general, are pointy and twisty, allowing them to penetrate through surfaces.
- The silver drill bits are designed for metalworking and have much higher hardness, while the black drill bits are designed for woodworking and are gentler on wood, with a smoother bit.
There are bits that fit whatever surface you are drilling, including wood, metal, ceramic, or other surfaces. Choose a bit that matches your project. It's smart to drill a slightly smaller hole than the screw you are using.
The HOTO 12V Drill Toolbox also includes 10 screwdriver bits made of sturdy S2-steel.
- Most commonly used screw types are flathead SL5, Phillips PH1/PH2, and Hexagon H3/H4/H5.
- As well as other special types like Torx T25, Pozidriv PZ2, Tri-wing TW1, and triangle ∆2.3.
The availability of both Phillips and flat head options allows for a broader range of screw types to be used. As long as the bit fits into the slots on the screw, it will work, even if it is not an exact fit.
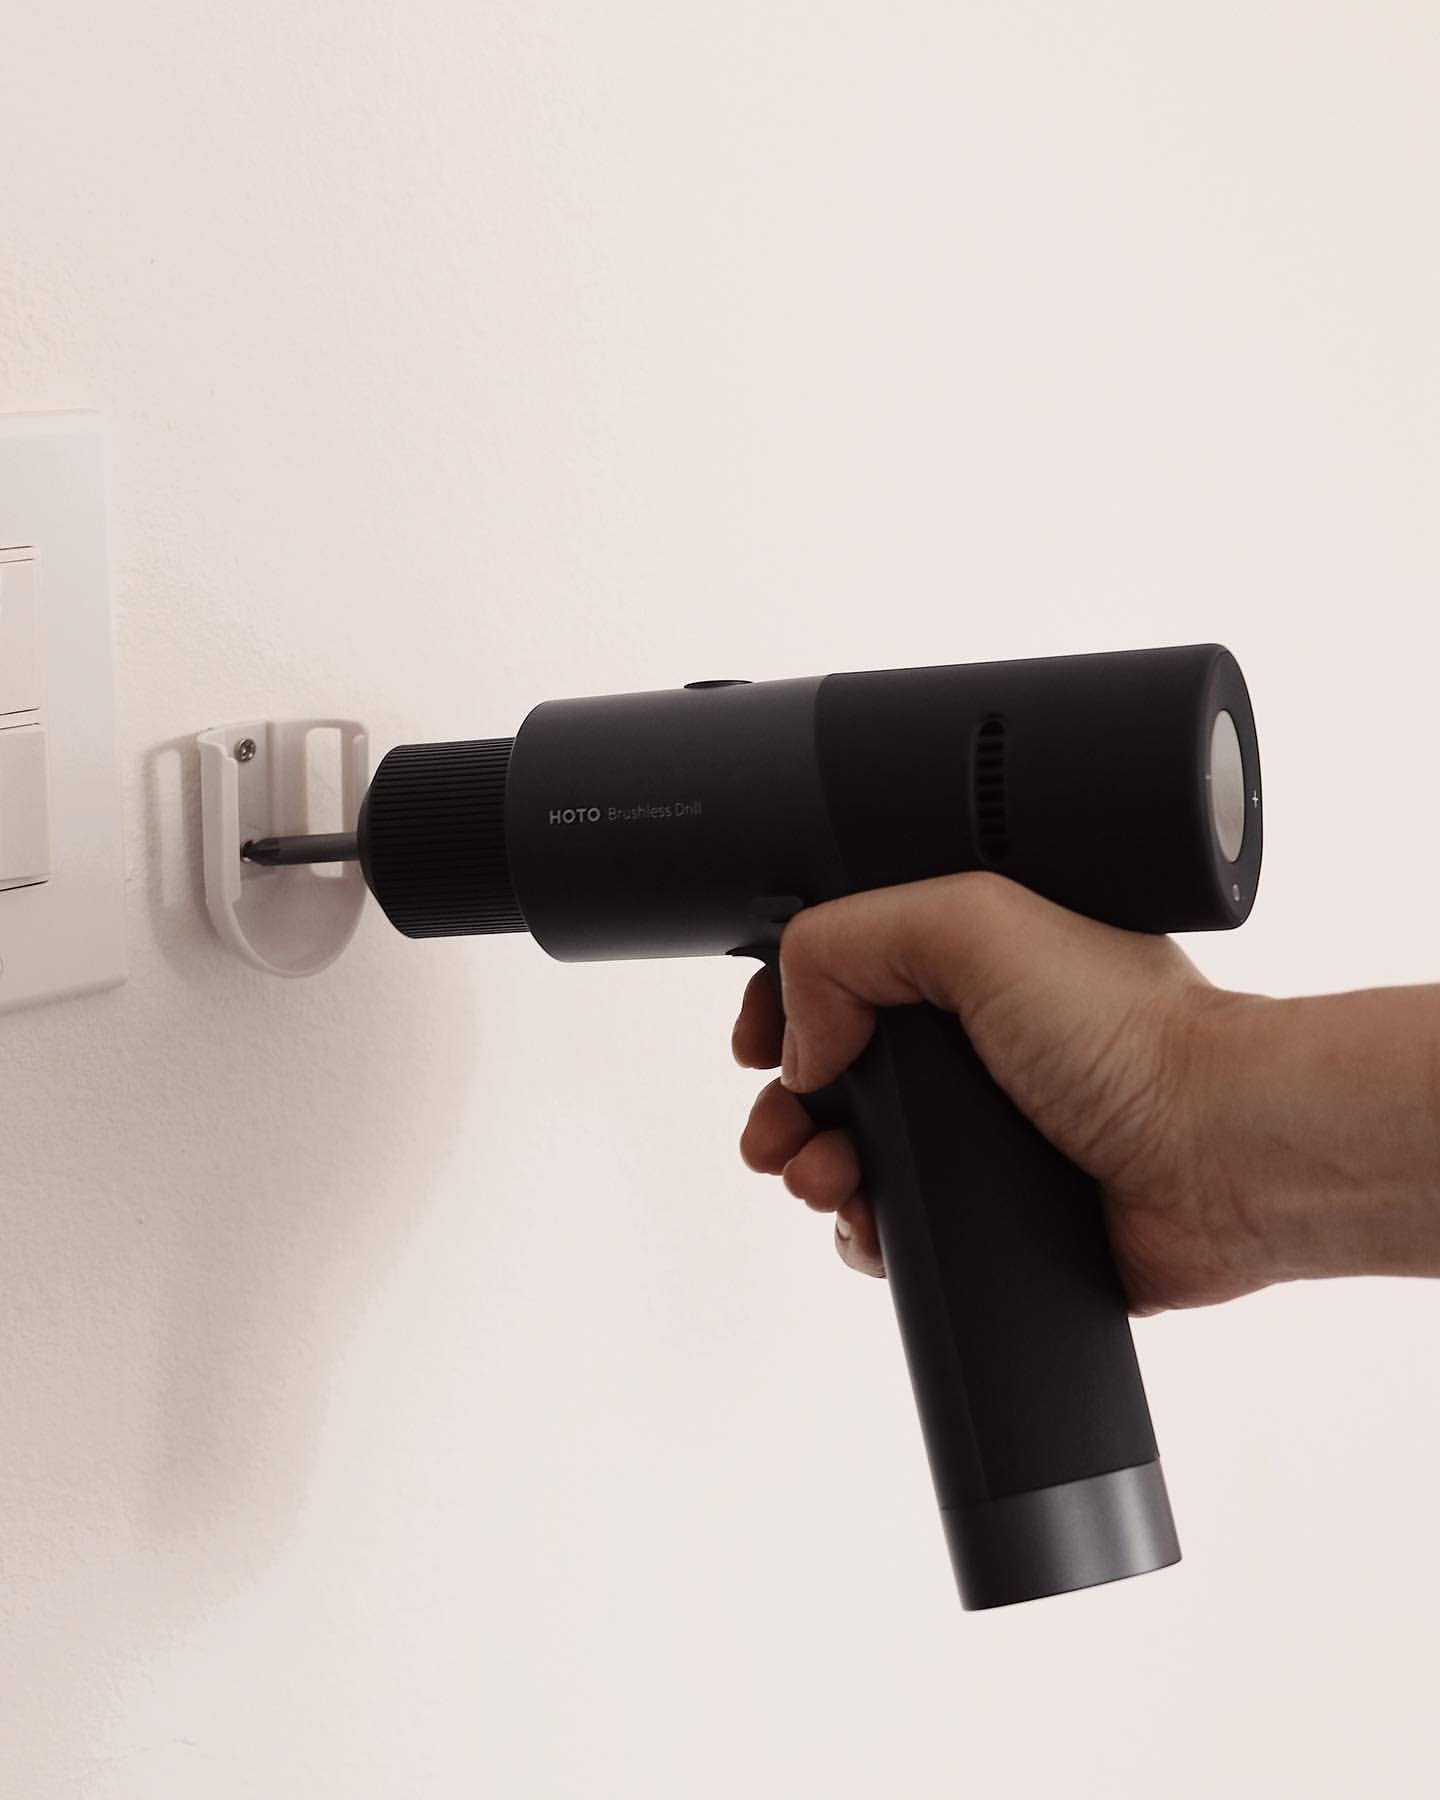
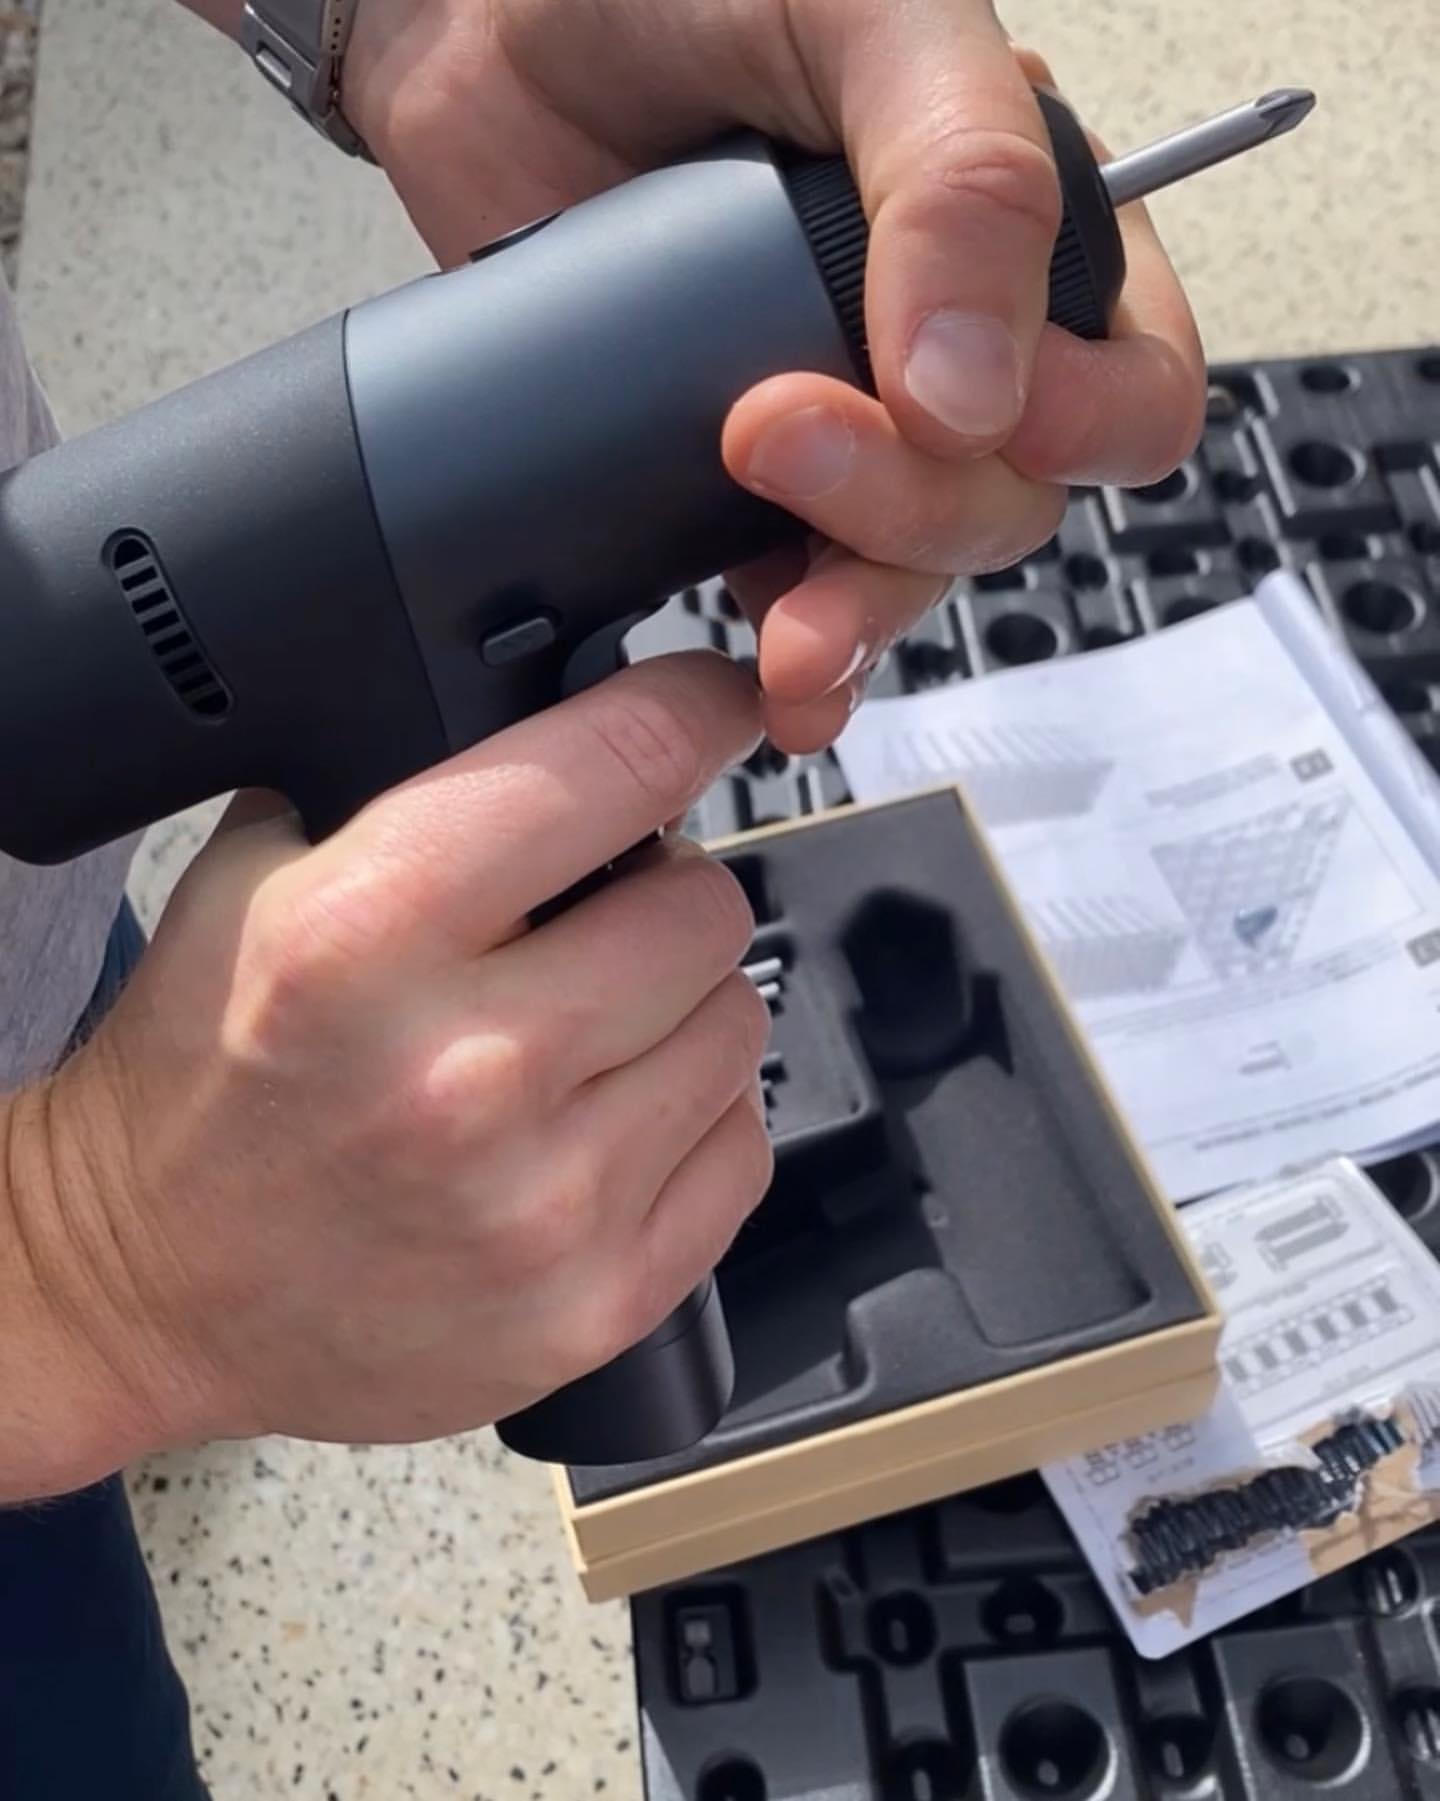
How to Change a Drill Bit
 [SHOP HOTO 12V ELECTRIC DRILL]
Changing a drill bit is an essential part of using a power drill. It's not complicated, and it's a skill that every DIY enthusiast should master.
Before you begin, keep in mind that the drill bit can be hot from friction if you've just used the power drill. Let it cool or use work gloves to remove it.
Follow these steps to insert or change a drill bit:
- Ensure that the chuck is locked with the switch or, even better, power off the drill first.
- Open the chuck by turning it to loosen the bit.
- Pull out the bit. If it's stuck, open the chuck further to remove the bit.
- Place the old bit in a case or off to the side to prevent it from getting stepped on.
- Insert the new bit into the chuck as far as it can go. Make sure it's centered and not angled.
- Twist the chuck to tightly close it around the drill bit.
- Check that the drill bit is snugly held and inserted evenly so that it won't wiggle.
When using a power drill, it's important to prioritize safety. Always wear protective gear such as gloves and glasses, and ensure that any loose clothing or hair is secured before starting work. Additionally, be mindful of anything that could become tangled or wrapped around the drill bit. Following these safety precautions will help ensure that you can use your power drill effectively and without incident.
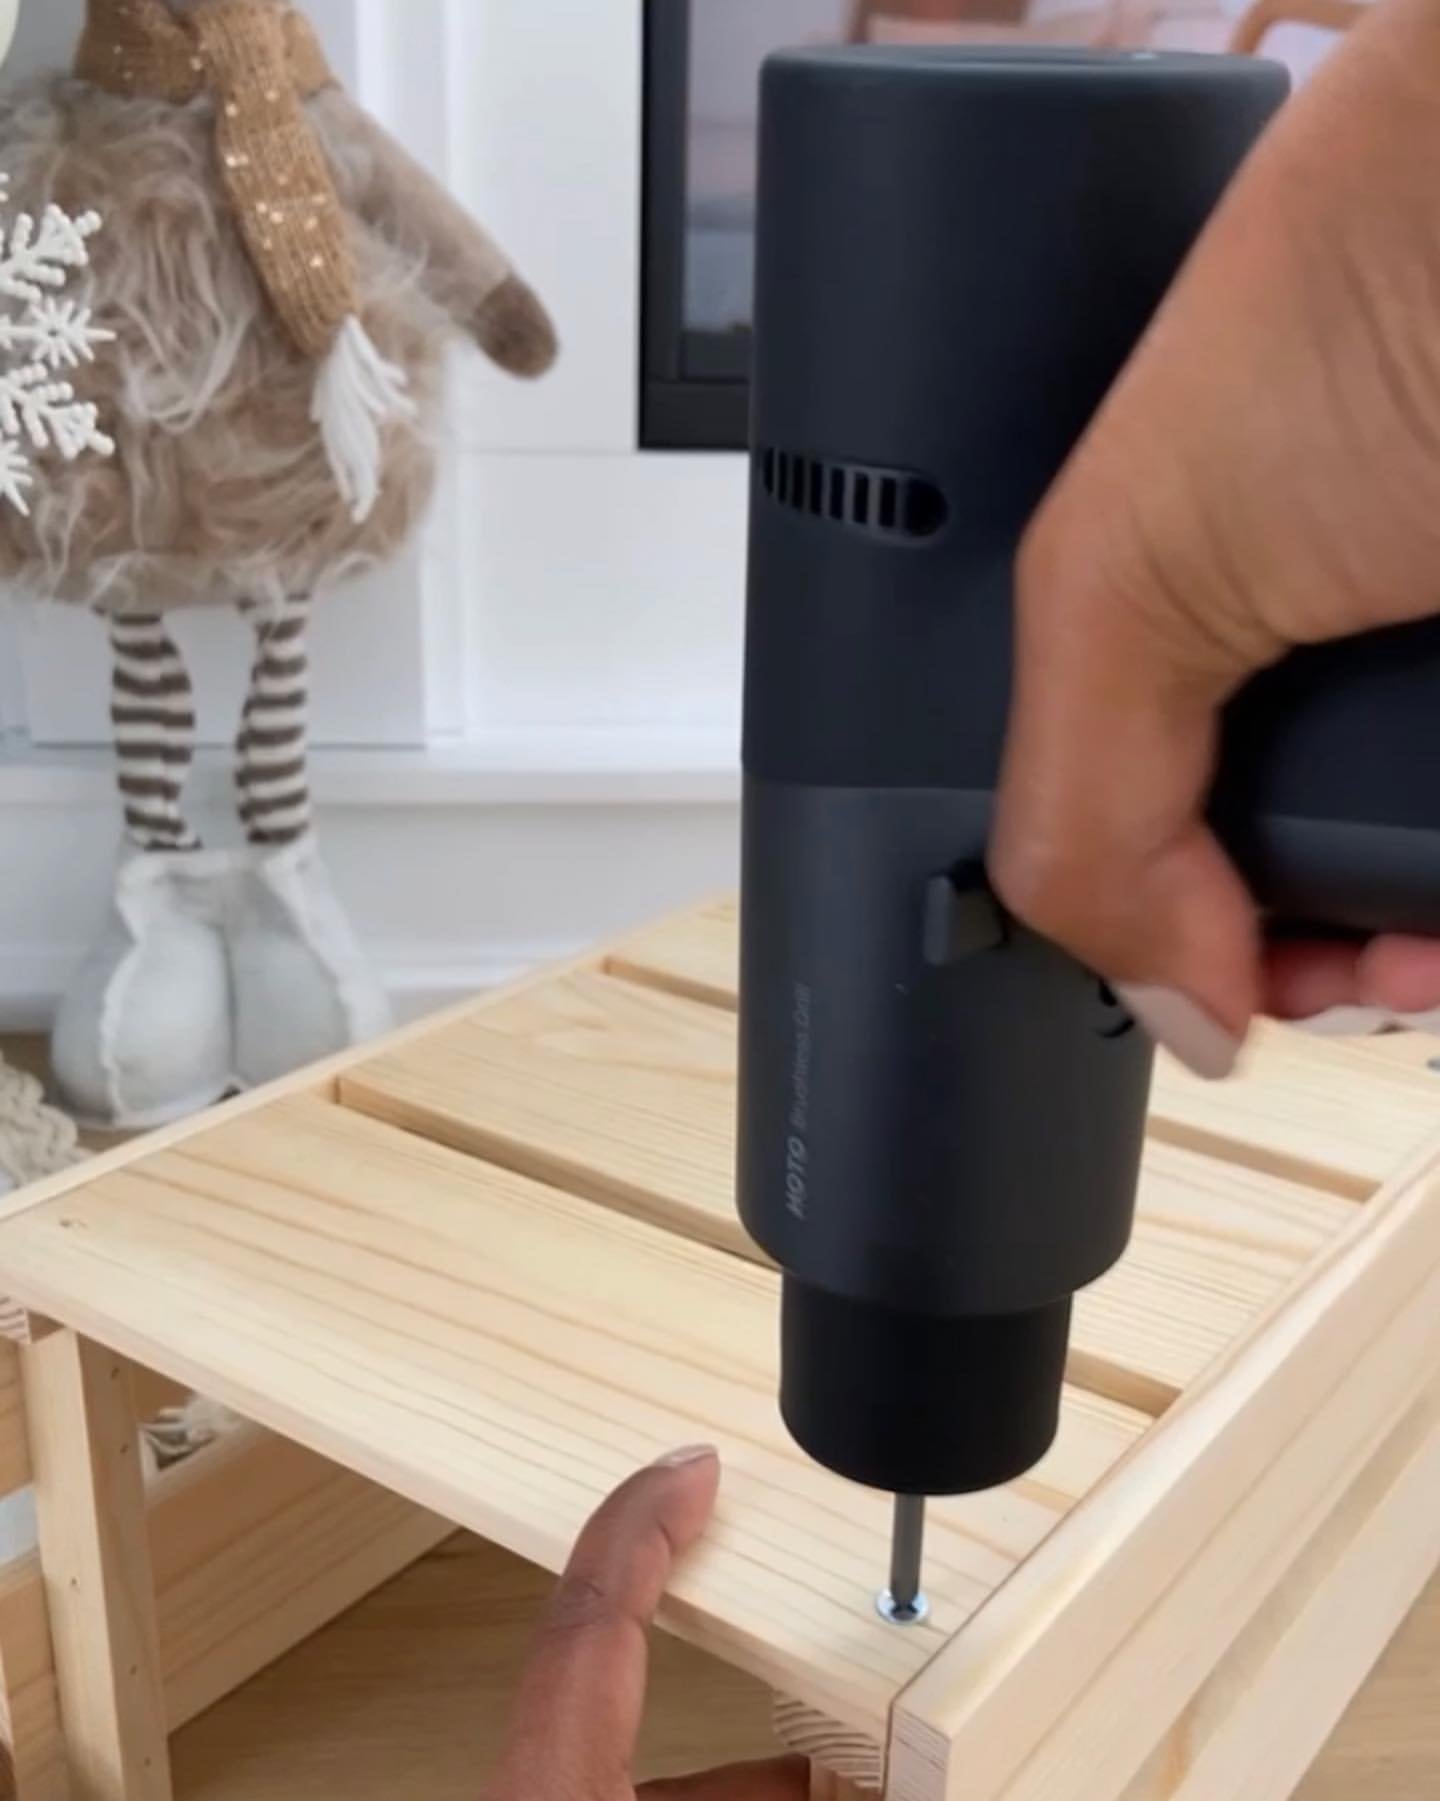
How to Use a Drill
 [SHOP HOTO 12V ELECTRIC DRILL]
To save time once you’re ready to drill, figure out where you need screws. Finish all your measuring and assure any straight lines are level. Then, mark with a pencil where you want to drill each hole. Use a tiny X or make a dot with a pencil.
To use a drill for drilling a hole, follow these steps:
- Power up your drill.
- Adjust the torque to suit the material you’re drilling. For example, drilling wood will require more torque than drilling drywall. In general, harder surfaces need more torque.
- Find the Xs or dots you made to mark where to drill.
- Get at the correct level to drill the hole. If you need a ladder, assure it’s opened and secured properly.
- Stabilize your drill vertically. You want the hole to be perfectly straight.
- Gently pull the trigger. Start drilling with a low speed. As you get further into the material, you can speed up.
- Once you’ve drilled as far as you need, put the drill in reverse.
- Pull the trigger and back out the drill bit. Take care not to yank on the drill or pull at an angle.
To use a drill for inserting a screw into a pilot hole, follow these steps:
- Power up the drill.
- Adjust the torque so it’s low. Drilling in screws that have pilot holes doesn’t require a lot of force.
- Fit the screw into the slot on the drill bit.
- Line up the screw with the hole.
- Make sure the drill is vertical.
- Pull the trigger on the drill and press gently into the screw. This should keep the screw in place.
- Make sure you’re not drilling at an angle.
- Once the screw is inserted, stop drilling.
- If you’re concerned about over-screwing, stop before the screw is completely inserted. Finish with a screwdriver.
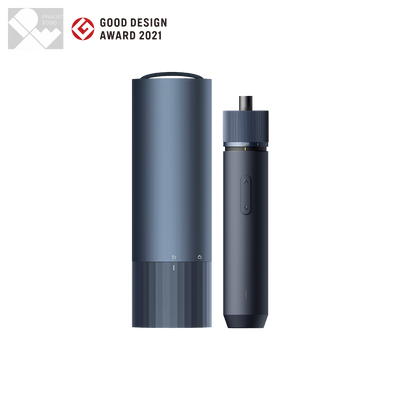
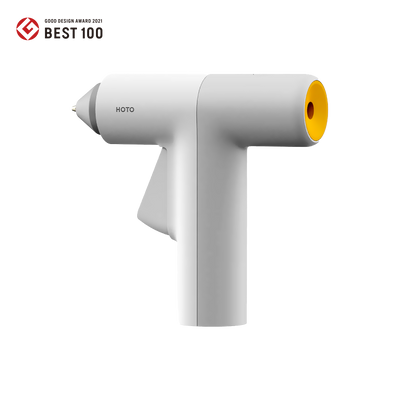
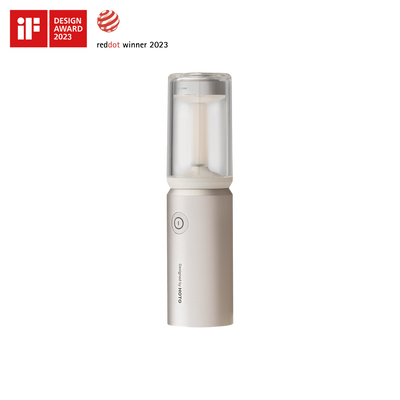
Why HOTO 12V Drill for Beginners?
 [SHOP HOTO 12V ELECTRIC DRILL]
The HOTO 12V drill was designed and created for beginner’s safety in mind. It has a unique wrist safe ‘Pulse’ mode, it operates stability without the risk of twisting your wrist. Because most power tools are strong, and often twist your wrist a little when driving a screw and stops as it drives in. Imagine you have 30 screws on your new IKEA table, likely you hurt your wrist in the long run. Also with the wrist-safe mode, you would drastically reduce the chances of striping the screw.
Other than this, there are other features on the HOTO 12V drill that makes it a good electric drill option:
- Selection of torque from 1N·m to 30N·m in manual mode
- HD LED Display of Drill Setting and Power Levels
- Drill and screw mode for optimal performance per task
- Rechargeable with Type-C USB Cable
Learning how to use a power drill is a valuable skill for any DIY enthusiast or homeowner. By understanding the parts of a drill, how to choose the right drill bit, and how to change a drill bit, you'll be well on your way to tackling a variety of projects around your home. Always prioritize safety when using power tools, and consider investing in a drill like the HOTO 12V Drill or Toolbox Set that has safety features to protect your wrist. With these tips and a bit of practice, you'll be able to confidently take on DIY projects that require the use of a power drill.


