


Differentiate Your Halloween Creativity: Crafting Your Own Mesmerizing Jack O' Lantern Character
Lewis, the extraordinary Jack O' Lantern, or simply Lewis, a mesmerizing creation by Hyde and Eek Boutique, has taken the Halloween world by storm! The TikTok universe exploded with videos showcasing Halloween decor ideas, and the hashtag "#MyNameIsLewis" has garnered an awe-inspiring 34.6 million views as of Tuesday, October 10th, 2023. People are captivated by their encounters with this charismatic Jack O' Lantern, enchanted by Lewis' unique sass. The immense buzz surrounding Lewis led to the rapid sell-out of the sensational "8' Light and Sound Pumpkin 'Lewis' Halloween Ghoul - Hyde & EEK! Boutique™".

Initially, I couldn't fathom why it became a viral sensation. To me, it appeared to be an ordinary Jack O' Lantern like any other. However, everything changed when the "Press Me" button was activated, and the resonating voice of #MyNameIsLewis introduced itself. That introduction brought Lewis to life, infusing it with an irresistible sassy attitude that elevated it to legendary status.
But what if you want to create your own unique character, a non-traditional Jack O' Lantern? Allow me to present my idea for crafting your very own character that will add a spark to your Halloween decor collection in 2023.
Here's what you'll need for this mystical endeavor:
- 1 pumpkin (or a pumpkin mask)
- 1 talking & sound button
- 1 long cloak (choose a color that resonates with your imagination)
- 1 garment rack stand
- 1 electric drill
- 1 rotary tool (optional, for those seeking smoother edges on the pumpkin head)
- 1 ambient light (optional, for those desiring an illuminated pumpkin head)
- 1 medium serving spoon
- 1 cutting knife
- 1 marker pen
- 4 screw knobs
- 4 PVC pipes
- 1 scroll of tape
- 1 pair of gloves
- 1 newspaper
Step 1 - Setting up the spooky skeleton
Get your garment rack stand ready and start drilling two holes. Attach two eerie arms to the sides as shown in the bone-chilling illustration below. Make sure the hole width matches the knob and pipe you have, and select the drill bit that will give you the perfect hole.
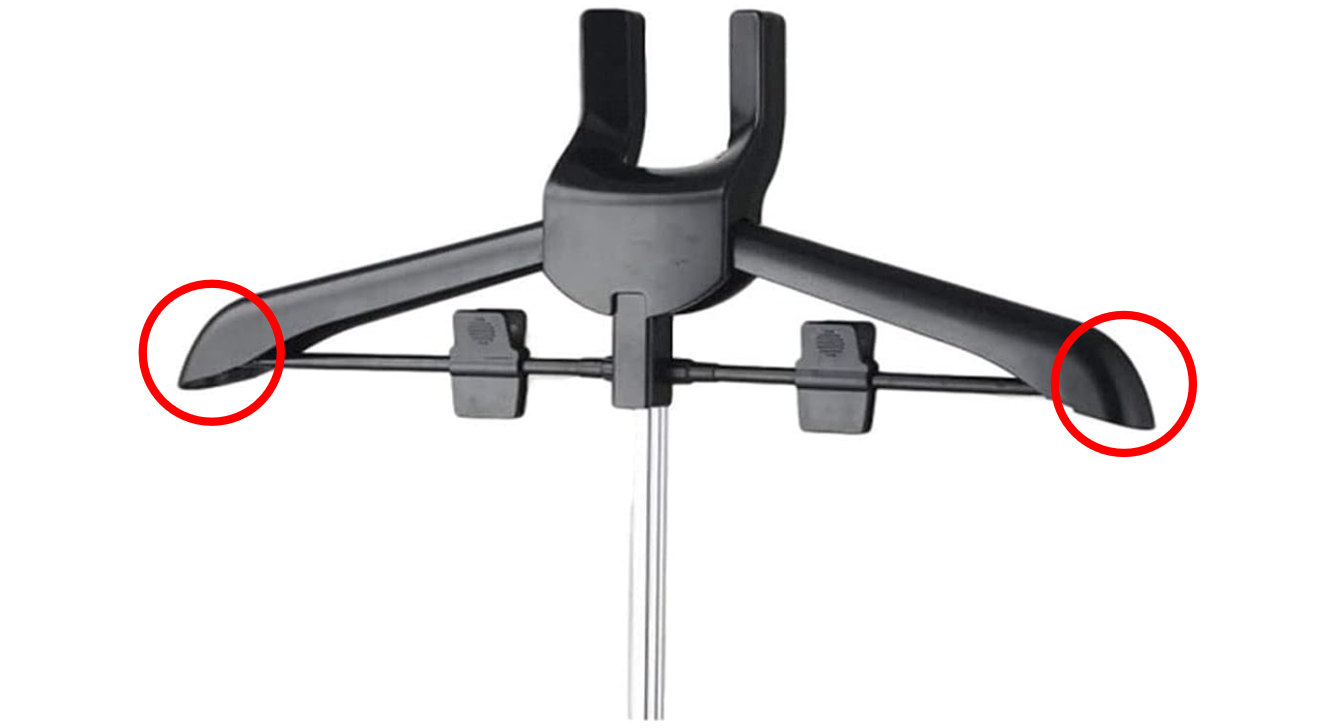
To attach the limbs, drill a hole in the PVC pipe and use a knob screw.
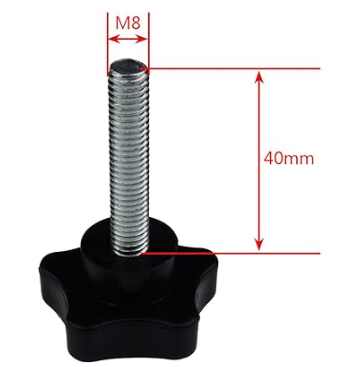
Here is an example of determining the width of the knob. In order to drill the appropriate size hole, you would use a drill bit that matches the required size.
Step 2 - Conjuring up the pumpkin head (skip this step if you're using a ready-made pumpkin basket or mask)

- 2.1: Prepping for Carving Cover your chilling workspace with newspaper.
- 2.2: Cutting Out the Sinister Stem Carve a hole around the stem at a spine-chilling 45-degree angle towards the center of the pumpkin. Make it big enough for your hand to creep through. IMPORTANT NOTE: - If the cut isn't angled, the stem will fall into the pumpkin. IMPORTANT NOTE: Save the stem for later.
- 2.3: Scooping Out the Pumpkin Use the medium serving spoon to scoop out the slimy seeds and pulp (the oozy orange stuff inside the pumpkin) and put them in the bowl.
- 2.4: Sketching the Frightful Face On the roundest or most wicked-looking side, sketch the terrifying face or design for your Jack-o-lantern.
- 2.5: Carving the Pumpkin Using the small knife, cut along the chosen design at a bone-chilling perpendicular angle. Remove loose pieces of the pumpkin and discard them into the medium bowl. Note - Wipe off any creepy extra dry erase markings when you're finished cutting out the design.
- 2.6: Carving the Socket to Attach to the Rack We'll need to attach the pumpkin head to the rack later, so let's carve two sockets for this spooky demonstration.
- 2.6: Lighting the Pumpkin Light the candle with the lighter and place it inside the Jack-o-lantern. Put the stem back on.
- 2.7: Displaying the Jack-o-lantern Place the pumpkin wherever it will send shivers down your spine.
Step 3 - Dressing up in a cloak (or clothing, it's up to your wicked imagination)

Drape the cloak over the rack stand. Be cautious when putting the sleeve on the limp, as it could snap the joint around the shoulder.
Step 4 - Enchanting the talk button with an introduction
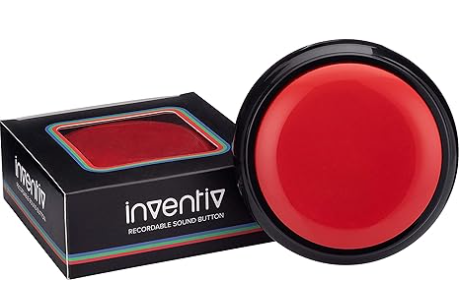
Follow the guide provided with the talk button and record the spine-tingling dialogue for your character to introduce itself when pressed by unsuspecting visitors.
Step 5 - Glove up and place the talk button
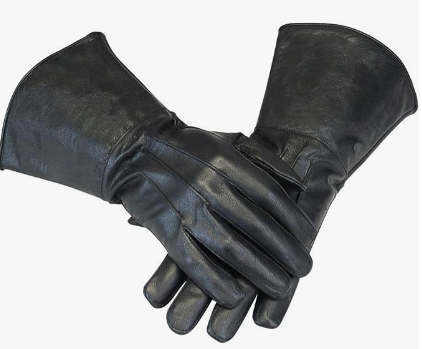
Put on the gloves and wrap them around each limb using the black tape. Attach the gloves to each pimp... I mean limb. The talk button can be placed on the left or right (or even both if you desire different sets of dialogue). Remember, the button side should face outward so it can be pressed with a trembling finger.
Step 6 - Final eerie touches
Position your spine-chilling creation wherever you desire, and then place the Jack O' Lantern on the rack's 'hat holder'. Once the head piece is set, pull the hood over the pumpkin, adding an extra layer of creepiness.
So there you have it! Your very own version of 'You Name It! Not a Jack O' Lantern'! Just a few more reminders: warn your friends not to get too scared and accidentally break it! We wish you a hauntingly happy Halloween this year, and remember to tag us @HOTO_OFFICIAL if you create your own following this wickedly fun idea!
All of items mentioned above are only items we have in mind to create your very own standing Jack O’ Lantern character. But if you have a complete different creative idea, you can choose any other items, and we hope this blog would inspire you in case you wanted to create your own Halloween decor.
HOTO Tools also offers a few items that may come to your interest incase you need a new electric drill for DIY, rotary tool for smoothing and engraving your creation, and an perfect ambient light for any purpose, but for the Jack O’ Lantern this time around. Please allow me to give a short pitch on these products!
-----------------------------------------------------------------------------------------
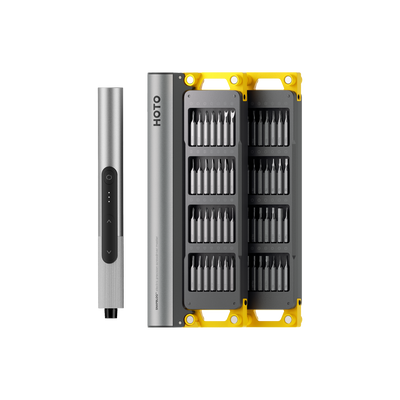
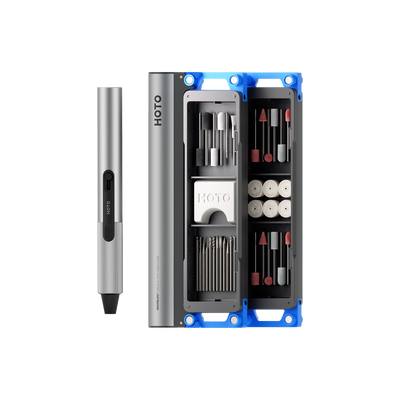
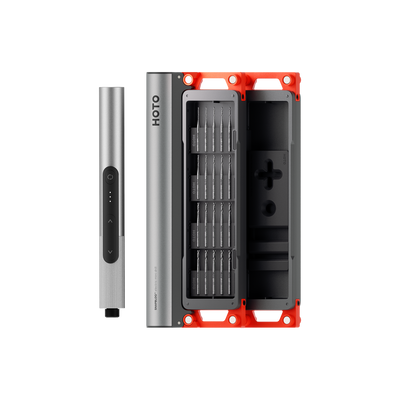
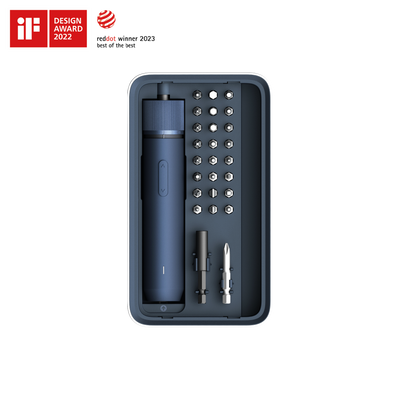
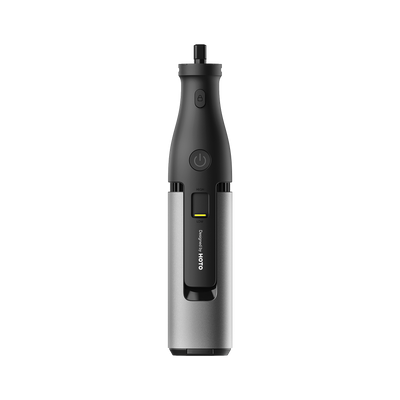
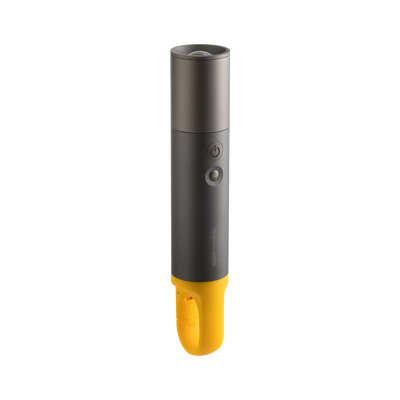
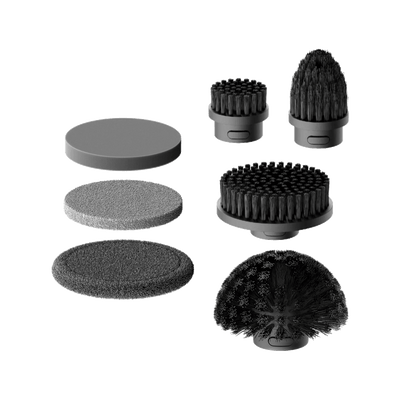
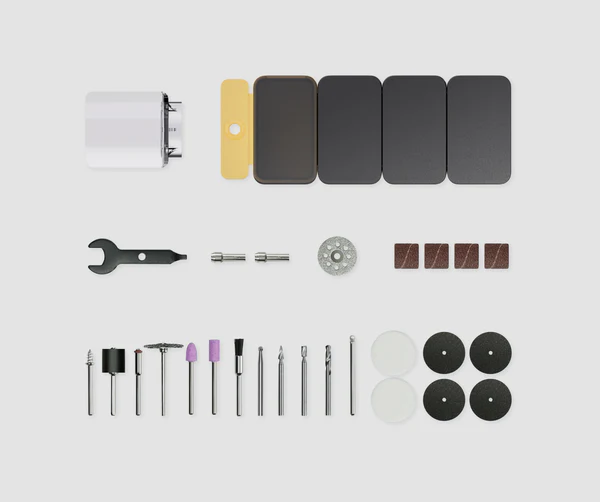
The HOTO 35-In-1 Rotary Tool Kit is a versatile and powerful tool for creative craftsmen. With 35 multifunctional accessories, adjustable high-speed rotation from 5000 to 25000 rpm, and a lightweight design, it allows for effortless control and precise craftsmanship. The long-lasting lithium battery ensures uninterrupted work, while the LED ring light and Snap-On dust cover add safety and convenience. Unleash your imagination and create artistic masterpieces with this all-in-one tool kit.

The tool kit includes 35 types of multifunctional accessories. Carve, sand, grind, cut, polish, and many other functions. The innovative combined storage box units help collect and classify all accessories.
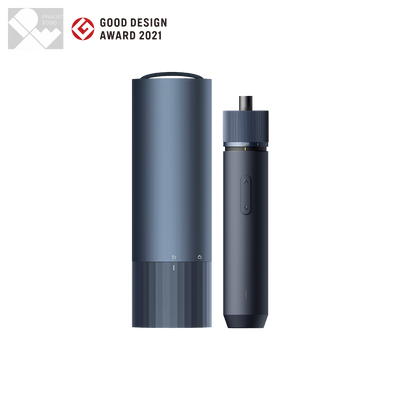
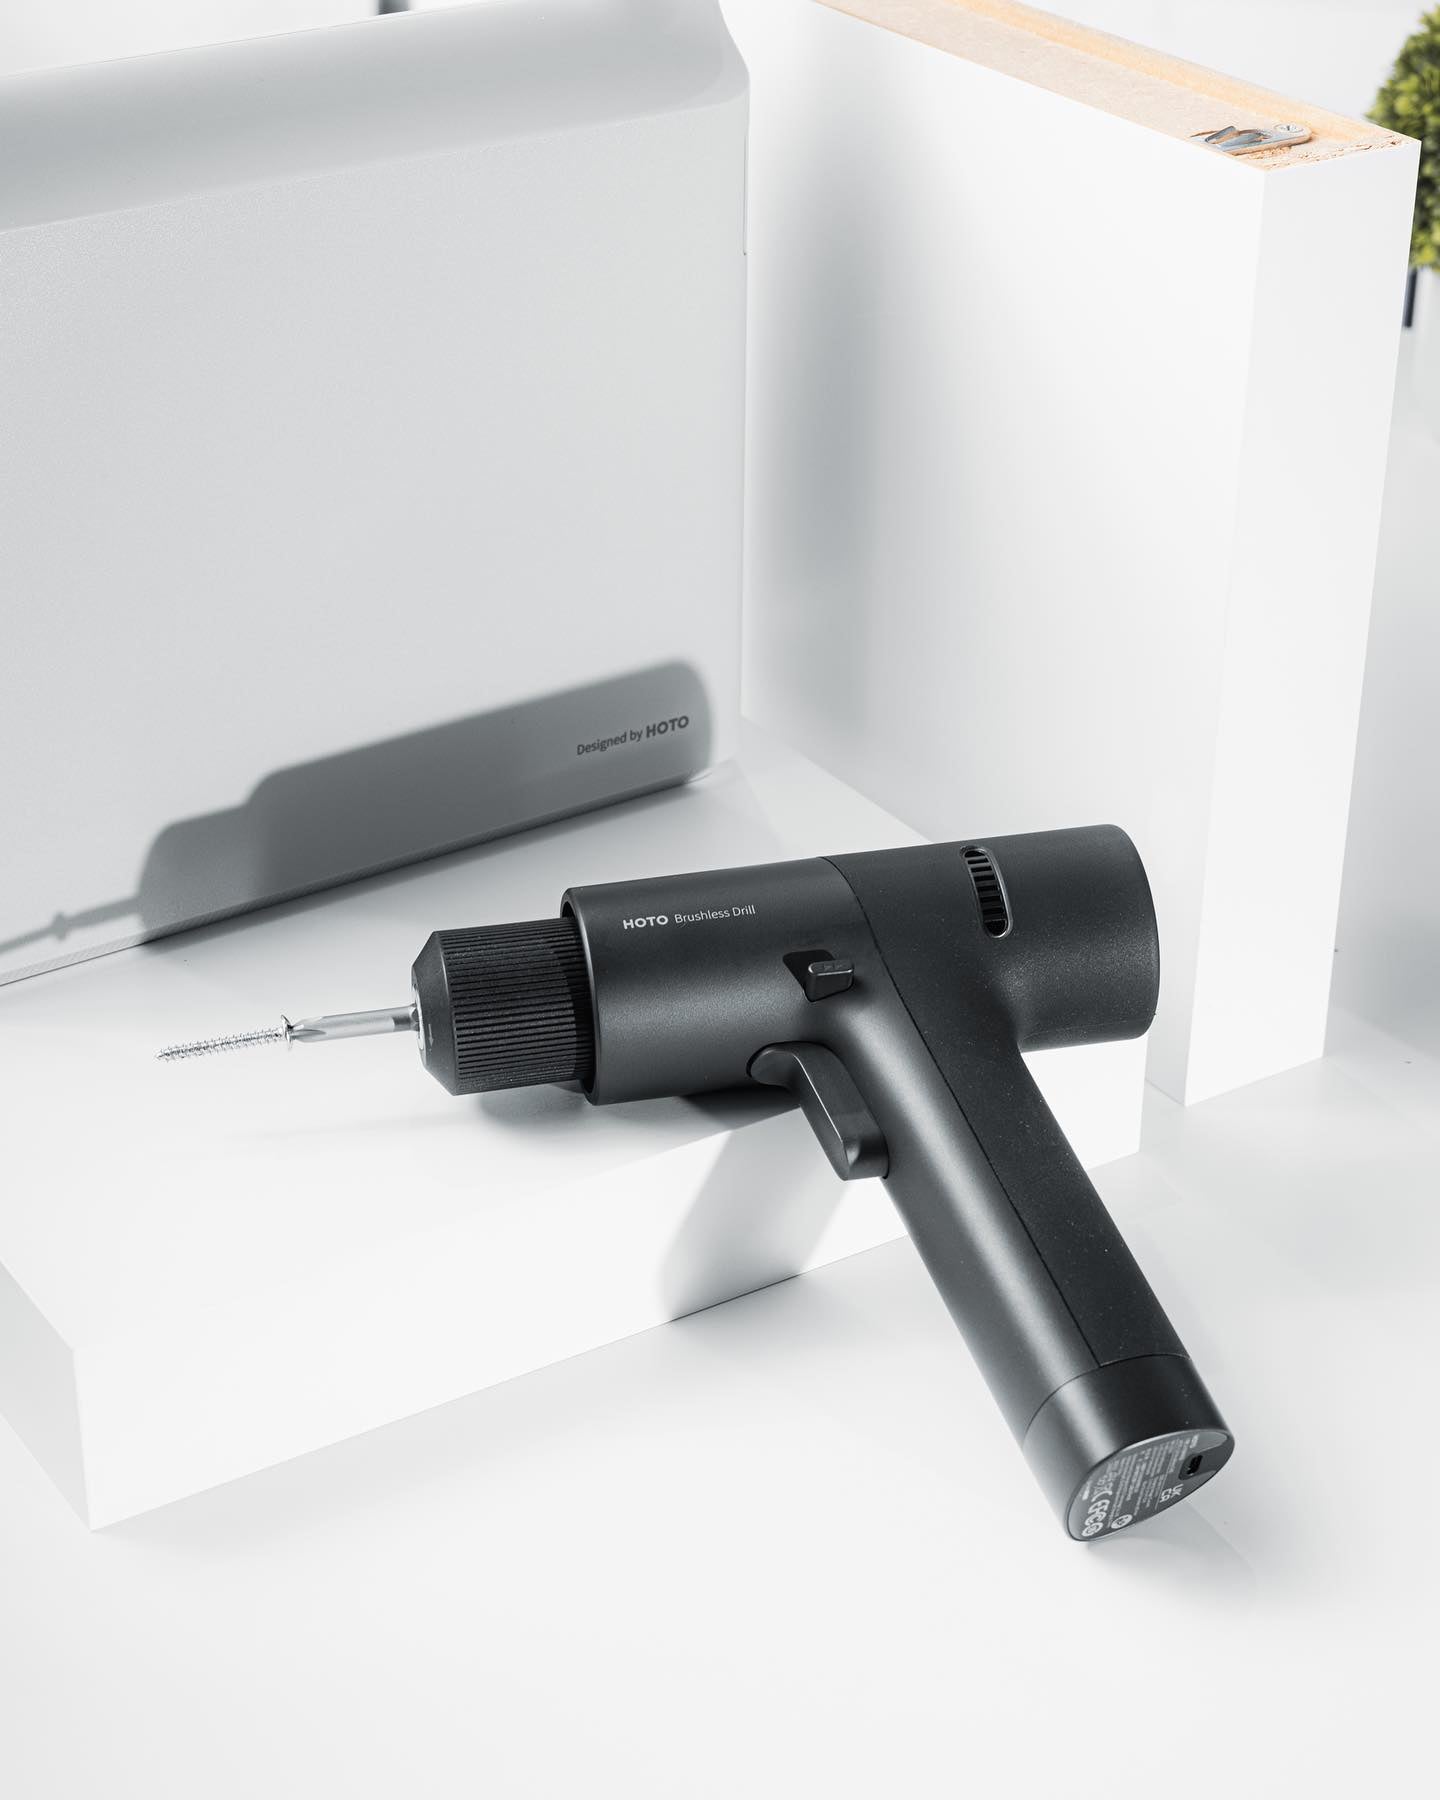
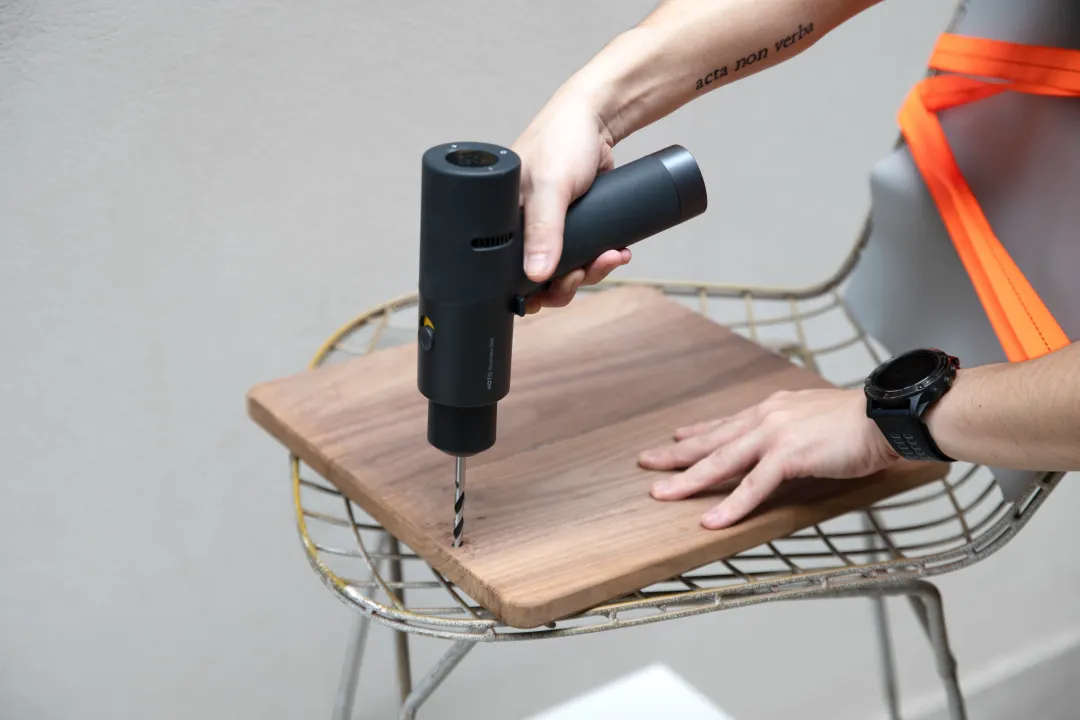
HOTO 12V Electric Drill Tool Set
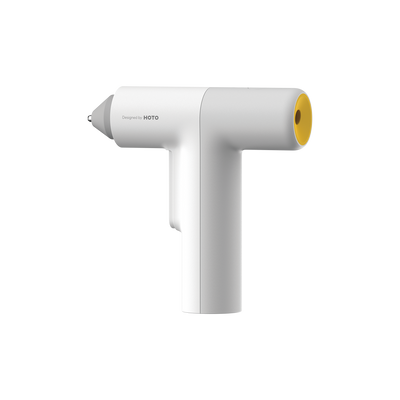
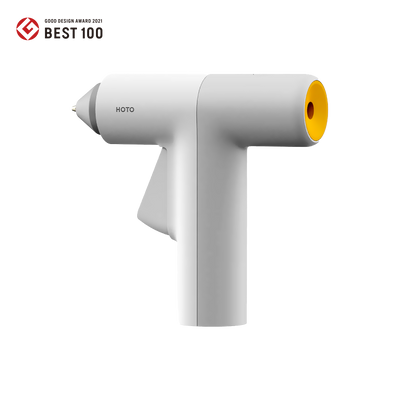
Immerse yourself in the ultimate blend of power, versatility, and style with the remarkable 12V Brushless Drill Tool Set. This extraordinary tool offers up to 30N⋅m of power and two modes - Screwdriving and Drilling. It also features a preset 'Pulse Mode' that flawlessly drives screws, conserving energy and ensuring stability. Say goodbye to wrist strain and stripped screws when tackling larger quantities. Designed for those who may not be power tool aficionados but still require a versatile tool set for their everyday household projects.
The tool set includes:
- Claw hammer - 24x105x240mm (hammerhead: 45# steel, rubber hammerhead: PU, handle: fiberglass+PP+TPE)
- Multi-purpose screwdriver - ⌀30x198mm (shank: CR-V steel, handle: PP+TPE), bit - S2 steel C6.3x25
- Multi-purpose pliers - 15.6x55x169mm (pliers body: CR-V steel, handle: PP+TPE)
- Adjustable wrench - 13.6x56.5x200mm (45# steel)
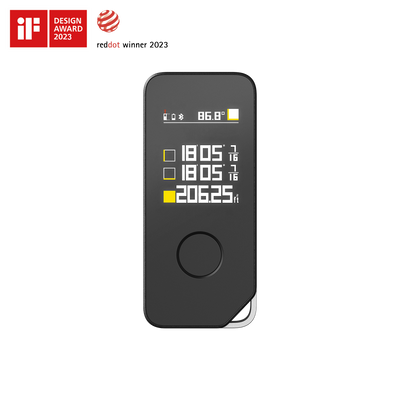
- Self-locking tape measure - 26.8x60x70mm (tape: 55# steel, shell: ABS)
- Toolbox - 70x168x268mm (shell: ABS)
- Screwdriver bits - C6.3X25mm, made of S2 steel
- Flathead SL5
- Phillips PH1/PH2
- Hexagon H3/H4/H5
- Torx T25
- Pozidriv PZ2
- Tri-wing TW1
- Triangle ∆2.3.
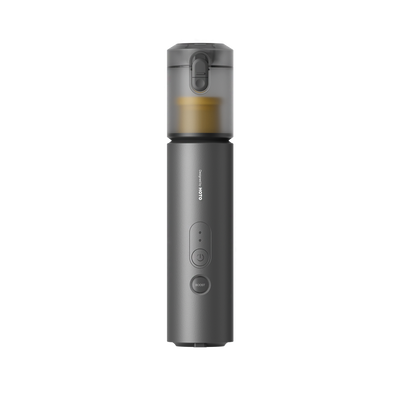
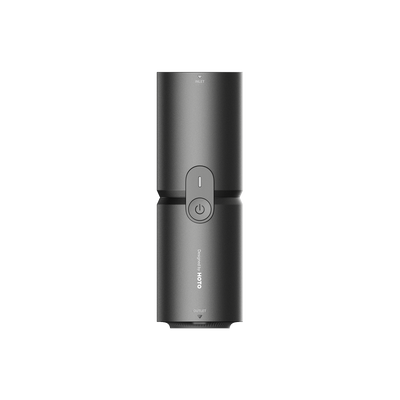
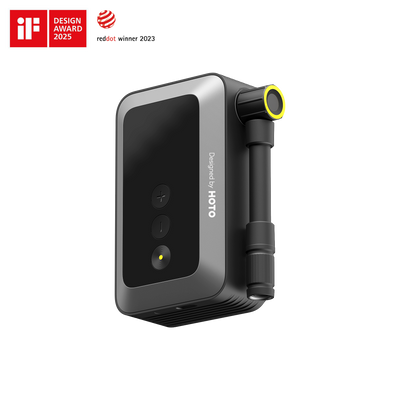
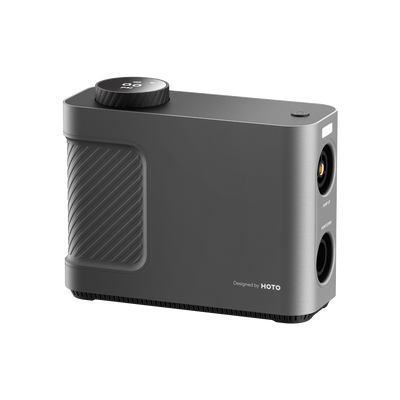
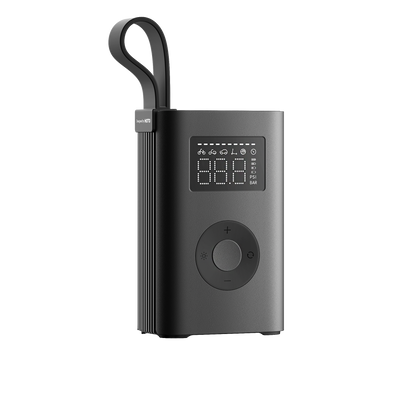
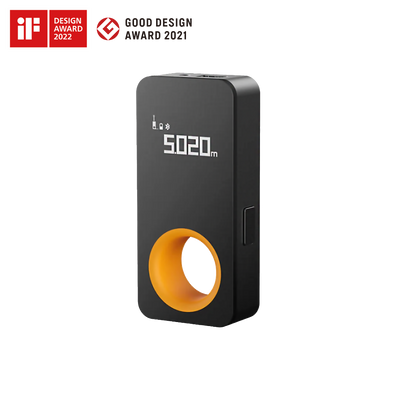
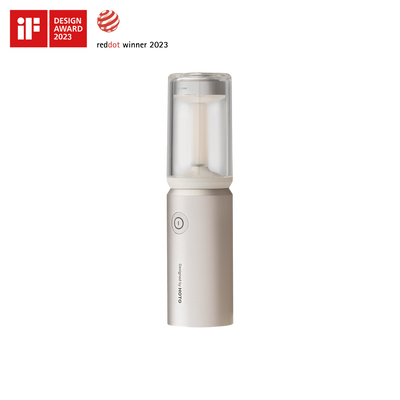
This compact, versatile, and oh-so-stylish light that will revolutionize your lighting game! This little wonder offers not one, not two, but three incredible light modes for all your illumination needs:
-
Bright Mode - Behold the mesmerizing light mode, perfect for those intense desktop reading sessions and task lighting that requires absolute precision.
-
Ambient Mode - Get ready to bask in the warm glow of the delightful warm light mode. It's the ideal choice for creating a cozy and inviting ambiance while you work or simply unwind and relax.
-
Torch Mode - Need to find something in the dark? Fear not, for the Torch mode will come to your rescue with its powerful beam that cuts through the darkness like a superhero!
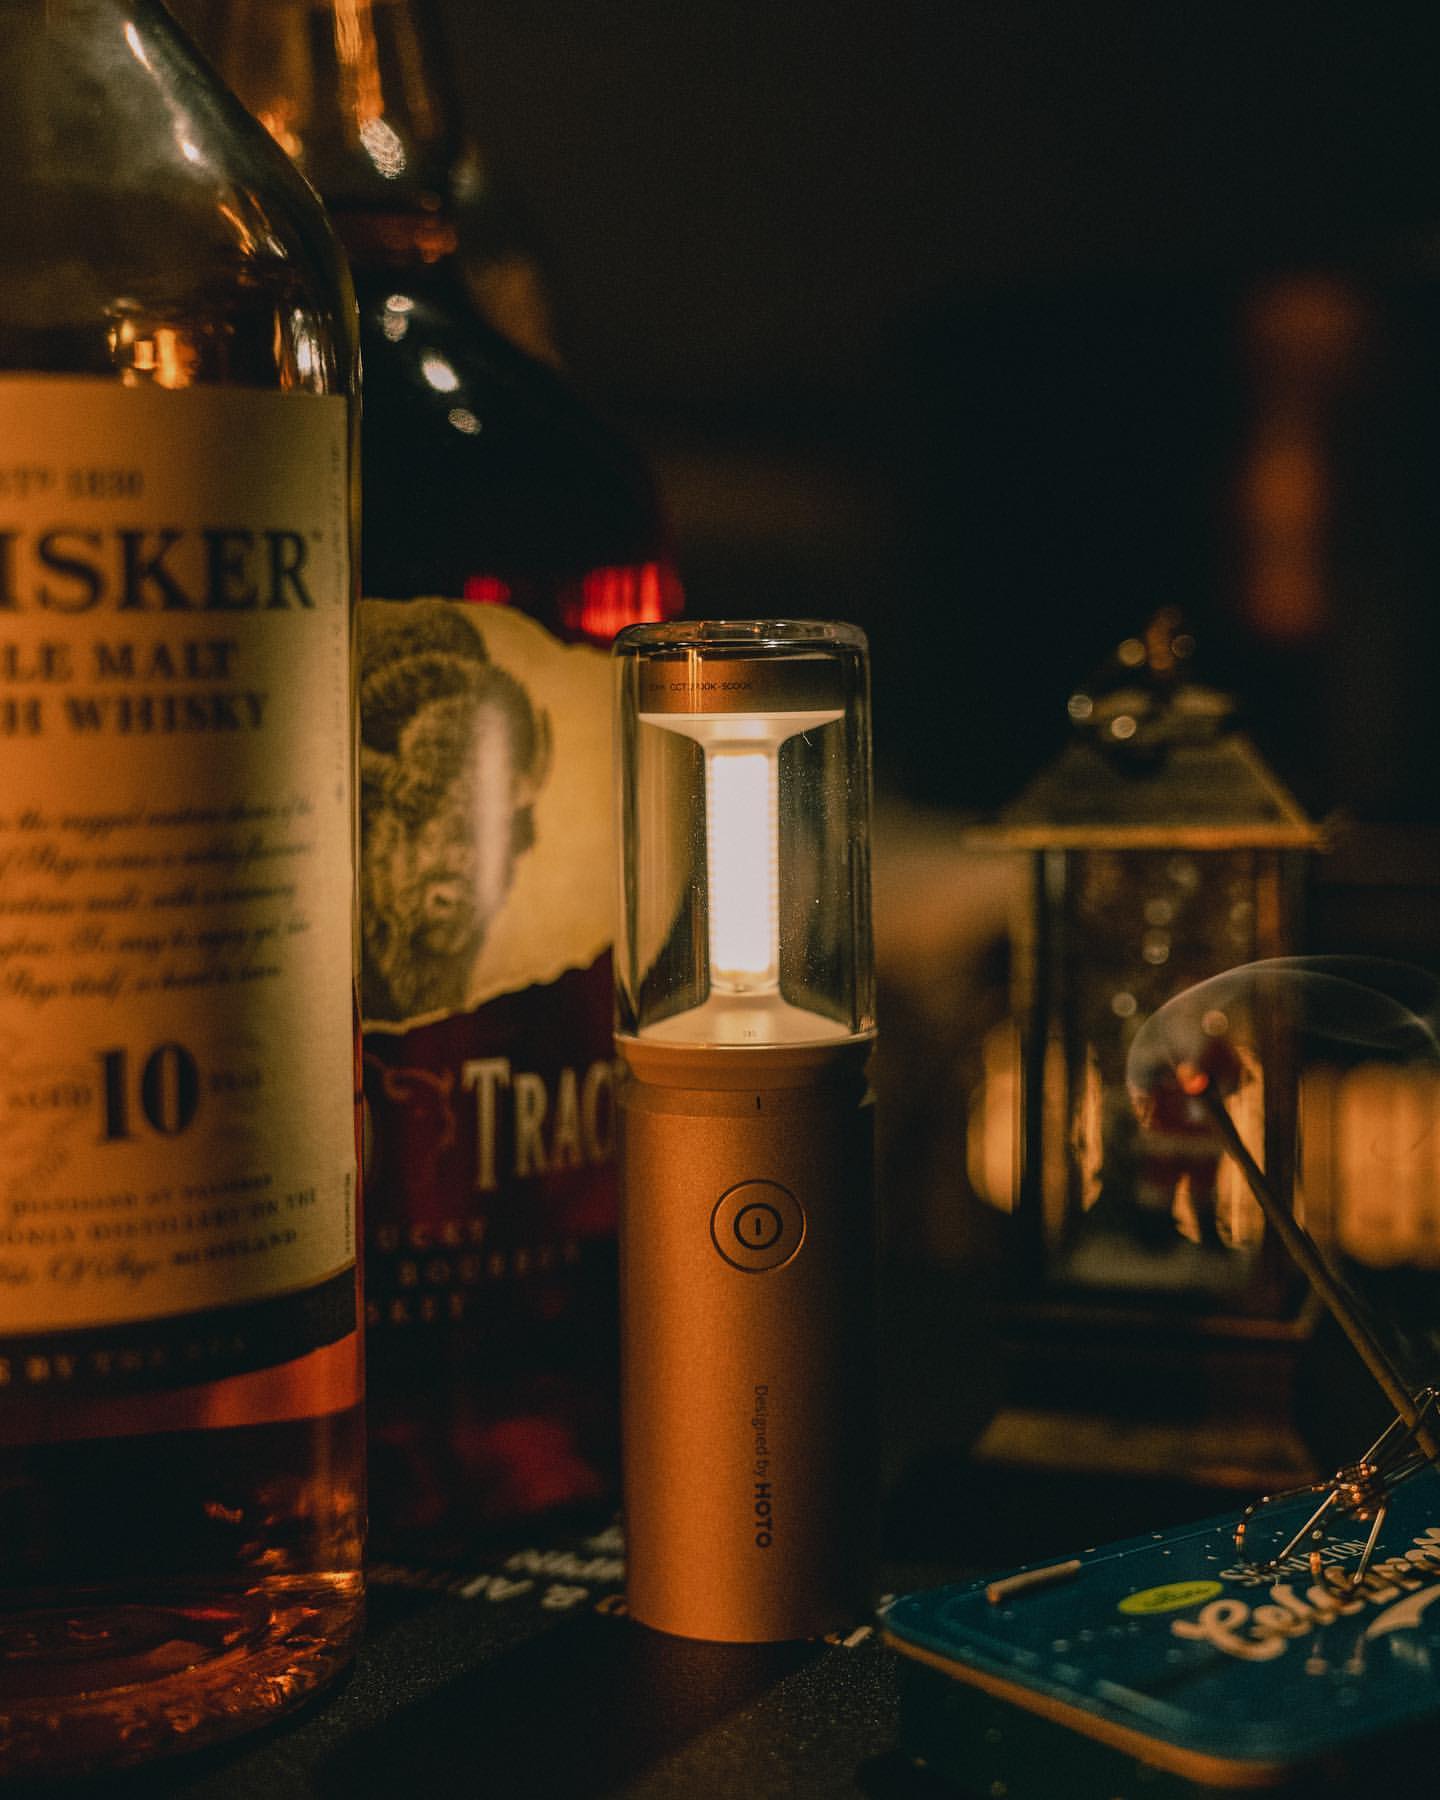
But wait, there's more! With its long-lasting battery and adjustable brightness, this little champion can keep shining brightly for up to a whopping 50 hours! Come rain or shine, the weather-resistant design has got you covered, making it the perfect companion for all your outdoor adventures. And don't you just love its sleek and sturdy construction? It not only adds durability but also oozes style and sophistication.
So, why settle for ordinary when you can have extraordinary? Say goodbye to dull lighting and say hello to the HOTO Ambient Light - your ticket to a world of endless illumination possibilities!

