How to Make a Cat Bed with a Glue Gun: Easy DIY Tutorial
Cats naturally gravitate towards cozy spots, often favoring simple cardboard boxes over expensive beds, so that learn how to make a cat bed can be helpful. Boxes provide them with a secure retreat to observe their surroundings. With a bit of creativity and effort, you can transform a basic cardboard box into a comfy and stylish permanent cat bed using a glue gun. Dive into this guide to learn how to make a cat bed, from gathering materials to mastering assembly tips.
Materials and Tools Needed
- Cardboard box:The one with 2 layers is better because it is sturdier
- Utility knife or scissors:For cutting the cardboard.
- Ruler and pencil: For measuring and marking.
- hemp rope: For lining the inside and outside. It’s about 0.2-0.3 inches thick.
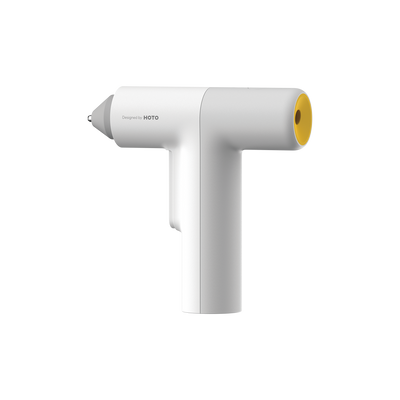
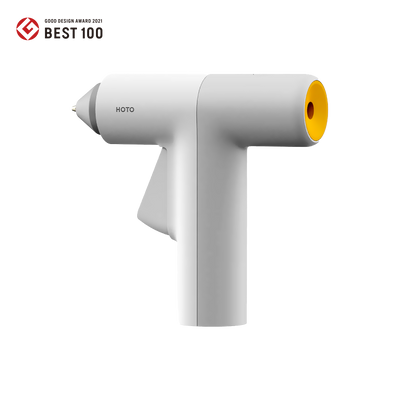
- Glue gun: To secure the hemp rope to the cardboard.
- Decorative materials(optional): Like wrapping paper, stickers, or paint for customization.
Step-by-Step Guide to Making a Personalized Cat Bed
-
Prepare the Right Box: Choose a box and measure its interior dimensions to ensure it's spacious enough for your cat to stretch comfortably. Opt for a sturdy box that maintains its shape. Decide whether to keep or remove any flaps for an open-top design. Use a utility knife or scissors to carefully trim off unwanted flaps.

- Consider Budget: Determine your budget for the DIY cat bed project. While the materials are simple, consider the costs of tools, supplies, and any additional customizations or upgrades.
- Design and Assemble the Frame: A simple cat bed can be made with just one cardboard box by folding back the top flaps to create an open bed. For a more creative approach, stack boxes of different sizes to build a multi-level bed that allows your cat to climb and explore. Once you've chosen the design, sketch it roughly on cardboard and cut it out using a craft knife. Consider incorporating features like doors or windows. You can also draw inspiration from solid wood cat climbing frames found on shopping sites.
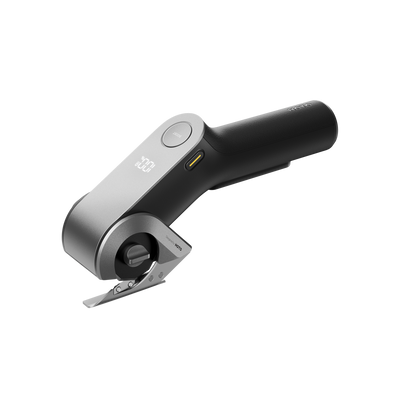
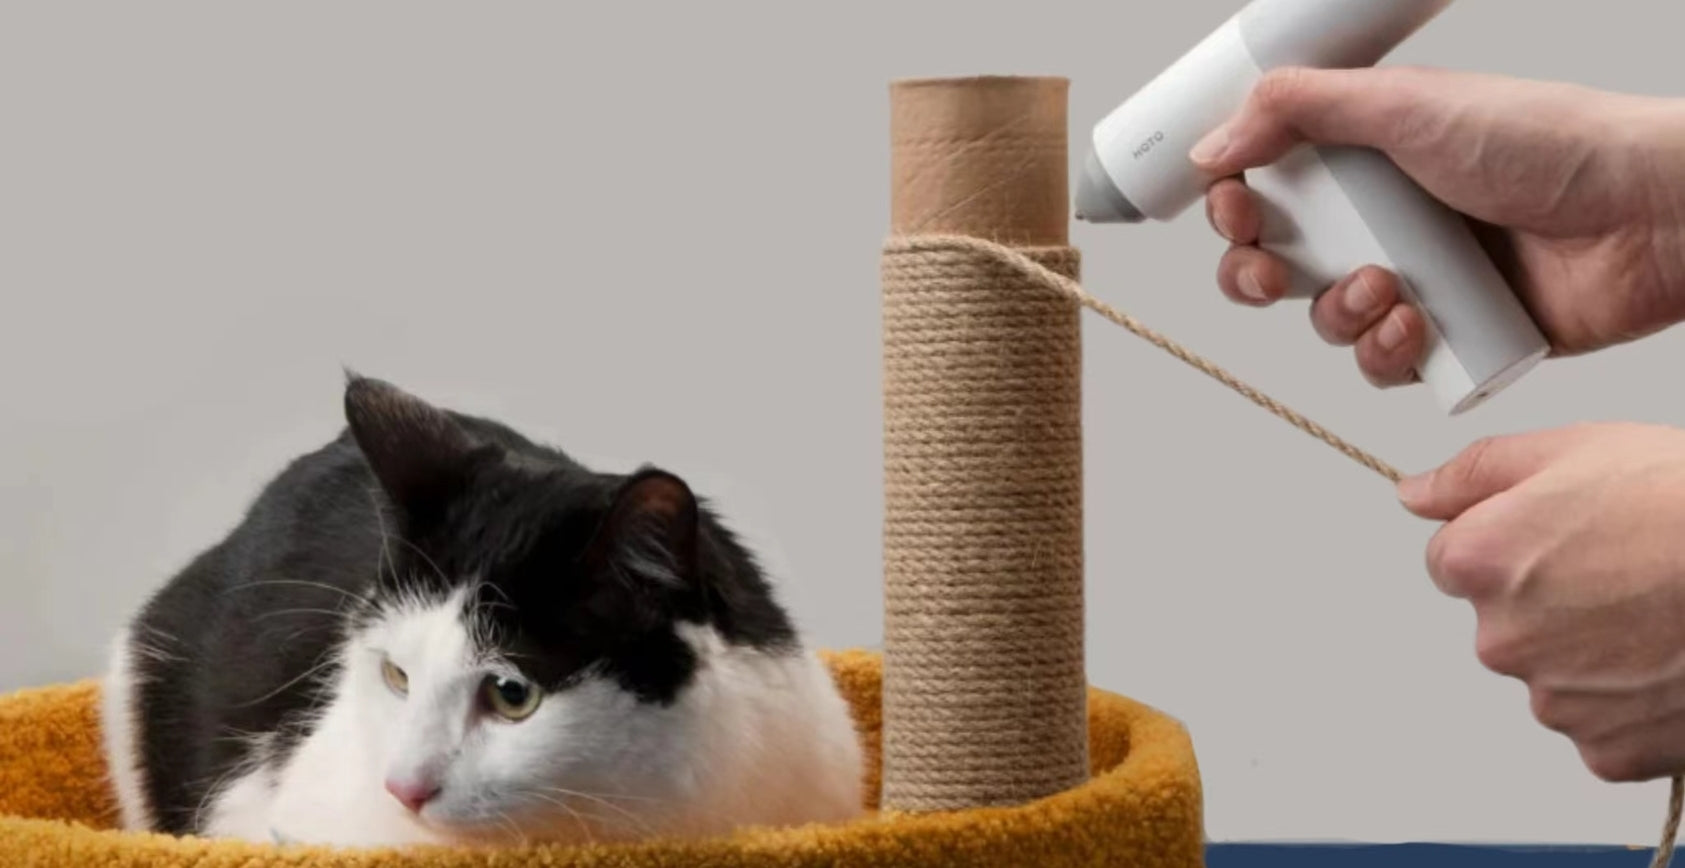
- Wrap with Hemp Rope and Glue Gun: Let the glue gun heat up for a few minutes. The Hoto glue gun heats up in just 30 seconds, allowing you to start your project promptly. Reinforce any cuts by wrapping hemp rope around the edges to prevent your cat from chewing through. Begin at one corner or edge of the box. Apply a line of hot glue along the edge and press the end of the hemp rope into the glue. Carefully wrap the hemp rope around the box, applying glue every few inches to secure the rope in place. Continue wrapping until the entire outer surface of the box is covered with hemp rope
- Add Decorative Touches to Encourage Use: With the basic cat bed complete, get creative with decorating the outside of the box! Ensure all materials used are non-toxic and safe for cats. Consider adding a soft cushion or extra blankets inside for added comfort. Cats love cozy spots to nap, so the more inviting you make it, the more likely your cat will use it regularly. Encourage your cat to use the new bed by initially placing their favorite toys or treats inside. You can gently place your cat inside to show them it's a safe and comfortable space. Add final touches like door signs, paw prints, and other decorations found around the house. Soft cushions can also be used.
- Maintenance: Keep the bed clean by regularly washing the lining fabric and vacuuming or wiping down the box itself. This ensures it remains a pleasant and hygienic spot for your cat.
Benefits of DIY Cat Bed
- Cost-efficient:
Buying a cat bed can be pricey, whereas crafting your own from a cardboard box is wallet-friendly. Cats can snooze just about anywhere, so why splurge on a bed when they're perfectly content wherever they curl up? DIY cat beds are a much more budget-conscious choice.
- Customizable:
Store-bought cat beds sometimes miss the mark with felines, ending up as mere decor taking up space. DIY allows you to tailor the design to fit your cat's tastes and your home's style. Experiment with different designs, colors, and textures to craft a unique, visually appealing cat bed that complements your decor—let your imagination run wild!
- Eco-friendly:
Using just a cardboard box as the base material not only saves it from the trash bin but also adds value through cycling. This approach reduces waste and minimizes your environmental footprint compared to purchasing new products. HOTO Glue Guns come with 10 glue sticks, promoting a sustainable crafting solution that's both eco-friendly and safe.
Tips for Using the HOTO Glue Gun
How to Ensure Strong Adhesion
Ensure the glue gun reaches the right temperature. For traditional glue guns, test by touching the plastic shell near the gun head. It heats up quickly and is ready when the indicator continuously flashes after pressing the button.
Apply pressure when bonding materials. This helps the hot melt adhesive penetrate small gaps between materials, creating a strong bond.
Use the gun head to touch and remove fine threads that may stretch out during use.
Safety Guidelines
- Keep the hot melt adhesive strip clean to prevent nozzle blockages from impurities.
- When not in use, keep the glue gun upright on a desktop; avoid placing it upside down to prevent glue spillage and damage to the gun and glue strip.
- Cut off the power supply if the glue gun heats continuously for over 15 minutes. Fortunately, the Hoto Glue Gun features automatic shut down after 5 minutes of inactivity for safety and energy efficiency.
- Note that the nozzle and melting temperature are very high; avoid touching other parts except the handle.
Summary
In conclusion, you’ve got comprehensive information on how to make a cat bed with the cardboard boxes and Hoto glue gun. Now, the moment has come to apply that knowledge. By following these steps and tips, you can create a personalized space safely and high-efficiently that your cat will definitely like. Enjoy the process and watch as your cat happily snuggles into their new favorite spot!


