How to incorporate storage into DIY coffee table plans
Are you ready to boost your DIY game and add a dose of practicality to your home decor? If so, you’re in for a treat! Today’s blog is all about how to incorporate storage into DIY coffee table plans. Imagine not just having a beautiful centerpiece for your living room, but also a piece that keeps your space organized and clutter-free. We’re here to show you how to blend style with functionality, creating a coffee table that’s as practical as it is eye-catching.
A coffee table is often the centerpiece of a living room, but it can be so much more than just a place to rest your mug or display a vase. Imagine having a coffee table that also serves as a smart storage hub for magazines, remote controls, or even extra blankets. Sounds great, right? By adding storage to your coffee table design, you can create a piece that’s both stylish and supremely practical.
In this guide, we’ll walk you through a variety of innovative ways to integrate storage into your coffee table project. Whether you're a seasoned DIYer or just starting out, we’ll provide you with tips, tricks, and inspiration to help you build a coffee table that’s tailored to your needs and tastes. So grab your tools and let’s get started on creating a functional masterpiece that will impress both guests and family alike!
The necessities of owning the coffee table
Functionality
Coffee tables provide a convenient surface for placing drinks, snacks, and other items within easy reach while you're sitting on the couch or chair. They’re perfect for setting down books, remotes, or decorative items.
Aesthetic Appeal
A coffee table can serve as a focal point in your living room, helping to tie together the overall design of the space. With various styles, materials, and finishes available, you can choose one that complements your décor.
Storage Solutions
Many coffee tables come with built-in storage options, such as shelves, drawers, or compartments. This can help you keep magazines, coasters, or other small items organized and out of sight.

Tools and materials needed
Tools
Measuring Tape: For accurate measurements.
Saw: Circular Saw or Table Saw for cutting larger pieces of wood.
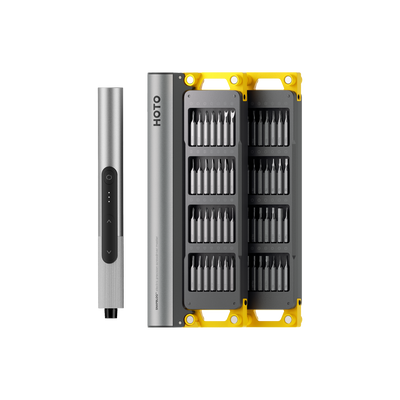
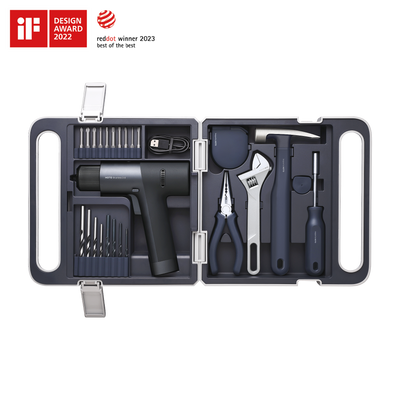
Drill and screwdriver: For making holes and driving screws.
Sander or Sandpaper: To smooth the surfaces of the wood.
Clamps: To hold pieces together while you glue or screw them.
Paintbrush or Roller: If you plan to paint or stain the table.
Materials
Wood: Choose hardwood (like oak, maple, or walnut) or plywood.
Screws and Nails: For assembling the table.
Wood Glue: To reinforce joints and ensure strong connections.
Wood Stain or Paint: For the desired finish and color.
Clear Sealer: To protect the finish (polyurethane or lacquer).
Magnetic Strips: If incorporating magnetic storage compartments.
A step-by-step instruction
Plan and Design
Determine the primary function of the coffee table. Will it be mainly decorative, functional, or both? Consider if you need extra storage, seating, or a display area. Draw a detailed design of your coffee table, including dimensions and any features you want (e.g., drawers, shelves). Measure the area where the table will be placed. Ensure it complements the size of the room and doesn’t obstruct pathways or seating. After you finish the design paper, you can decide on the type of wood or materials you’ll use for the tabletop, legs, and any additional features.
Prepare the Wood
Measure and cut the wood pieces according to your design. Typically, you’ll need pieces for the tabletop, legs, and apron (the frame connecting the legs to the tabletop). Cut two rectangular wooden boards for the legs, each measuring 50 cm x 38 cm. Hollow them out according to the method shown in the diagram. Then cut a 45 cm x 45 cm square board for the tabletop.
Next, design the storage section. Based on the dimensions of the four corners of the base, cut out five rectangular wooden boards. Alternatively, you can design a triangular storage box, which would require one triangular base and three rectangular wooden boards.

Assemble the wood
Join the two rectangular wooden boards together in a cross shape to create the base. Choose a drill bit slightly smaller in diameter than your screws. Drill pilot holes at the marked positions on the legs and tabletop. These holes help to prevent the wood from splitting and make it easier to drive the screws. Then use a drill or screwdriver to drive the screws into the holes. Ensure that you don’t overtighten, as this can strip the holes or damage the wood.
The storage feature is specifically designed with storage compartments at each of the four corners of the coffee table base. These compartments are magnetic and can be removed to be used as separate storage boxes. When combined, they form a large storage box that can be placed next to the sofa or beside the bed. It is ideal for storing small, scattered items, and the top surface provides coverage to keep things tidy and dust-free.

Sand and Finish
Use sandpaper or a sander to smooth all surfaces, edges, and corners. Apply wood stain to achieve your desired color. Follow the manufacturer’s instructions for application and drying times. Apply a primer if necessary, then paint with your chosen color. Allow each coat to dry before applying the next.
Once the stain or paint is completely dry, apply a clear sealer (like polyurethane or lacquer) to protect the finish. Apply according to the manufacturer’s instructions and allow it to dry thoroughly. Finally, you can check for any imperfections or areas that need touch-ups. Sand and reapply finish as needed.
Summary
Transforming a simple coffee table into a multifunctional piece of furniture is a fantastic way to enhance both the functionality and aesthetics of your living space. By incorporating smart storage solutions into your DIY coffee table plans, you can create a centerpiece that not only elevates your home decor but also helps keep your space organized and clutter-free.
Whether you opt for built-in drawers, shelves, or removable storage compartments, the possibilities are endless. With the right tools, materials, and a bit of creativity, you can craft a coffee table that meets your specific needs and complements your style.
Remember, the process of designing and building your own coffee table is not just about following steps—it's about infusing your personal touch into a piece that will serve you and your family for years to come. So, roll up your sleeves, gather your materials, and dive into your DIY coffee table plans. The result will be a stunning, functional addition to your home that showcases your craftsmanship and ingenuity. Happy building!


