How Can You Transform Your Bedroom with Simple DIY Headboard Ideas
Are you looking to give your bedroom a fresh, stylish update without breaking the bank? One of the easiest and most impactful changes you can make is to update your headboard. A headboard isn’t just a practical element; it’s also a key design feature that can set the tone for your entire room. Whether you’re aiming for a modern, rustic, or eclectic vibe, DIY headboards offer a creative and budget-friendly way to achieve your desired look.
In this blog, we’ll explore how simple DIY headboard ideas can transform your bedroom into a personalized retreat. From repurposing materials you already have to crafting something entirely new, these projects are perfect for adding a unique touch to your space. With just a few tools and a bit of creativity, you can enhance your bedroom's aesthetics and functionality, making it a place where you truly love to unwind. Ready to dive in? Let’s discover how you can elevate your bedroom with some innovative and easy-to-make headboard designs!
Materials and tools needed
Materials
- Wooden boards (such as plywood or reclaimed wood)
- Wood screws
- Sandpaper (various grits)
- Paint or wood stain (optional)
- Clear wood sealant or polyurethane (optional)
- Wall anchors and screws (for mounting)
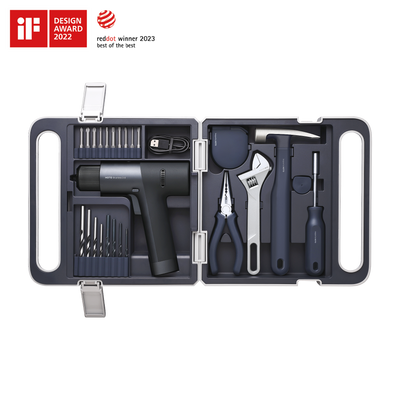
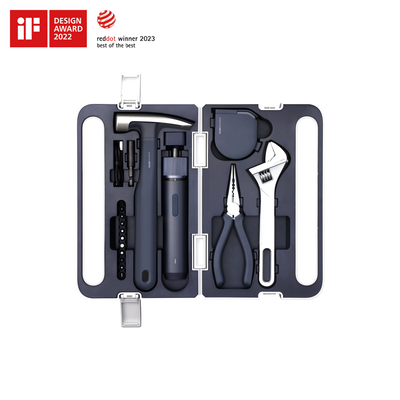
Tools
- Tape measure
- Saw (hand saw or circular saw)
- Drill with bits
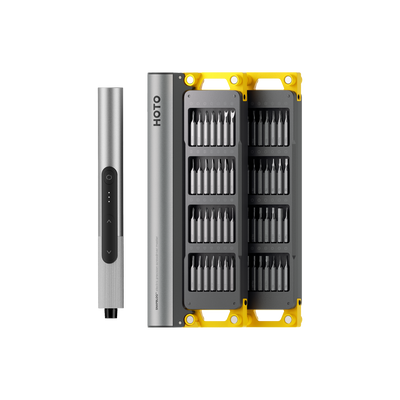
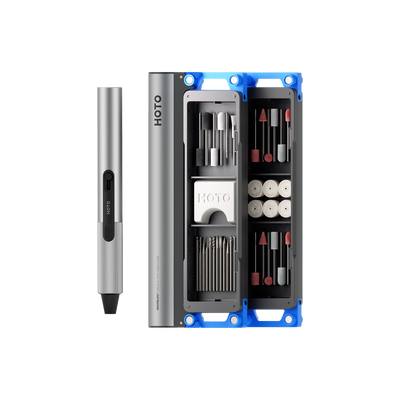
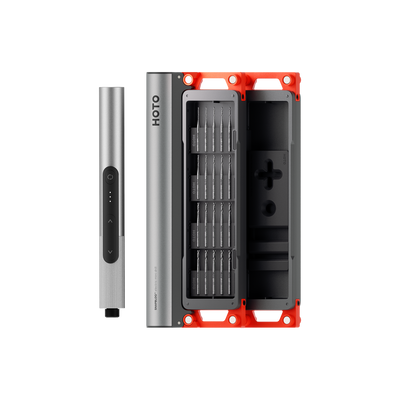
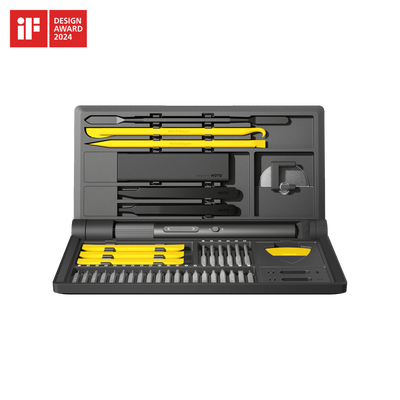
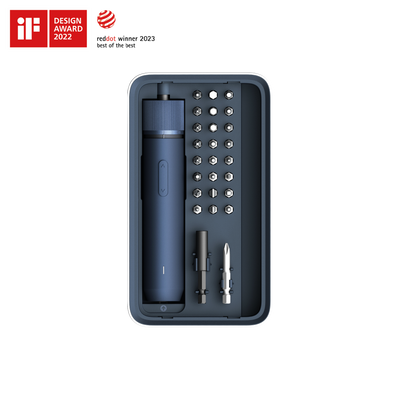
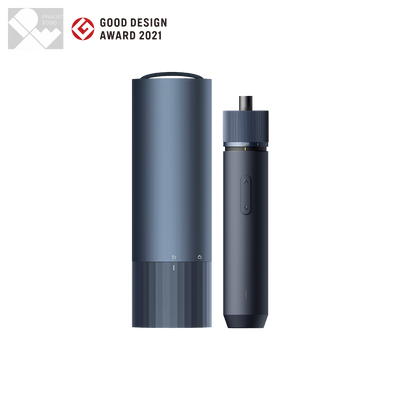
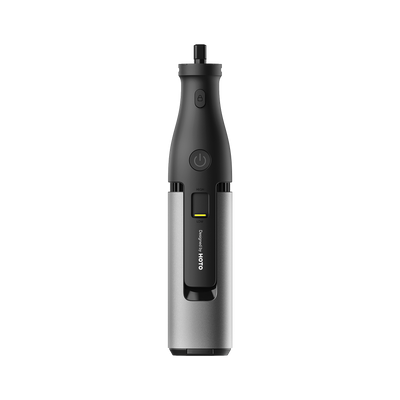
- An electric screwdriver
- Level
- Paintbrush or roller (if staining/painting)
The advantages of owning the headboard
Protect Health
In areas characterized by high humidity, especially during the rainy winter season, waterproofing walls is important but still may not fully prevent moisture infiltration. If the head of the bed is directly against the wall, it is susceptible to moisture damage, which can lead to moldy and deteriorated bedding. Prolonged exposure to such conditions can harm your health. Therefore, adding a headboard can effectively block moisture, extend the lifespan of your bedding, and prevent issues like dampness and mold. It also helps keep your head away from moisture, reducing headaches and other discomforts.
Enhance Aesthetic Appeal
Another obvious benefit of a headboard is its ability to enhance the aesthetic appeal and ambiance of a space, creating a personalized bedroom. The shape, color, material, and texture of a headboard can be chosen and matched according to the room’s style and personal preferences. This adds visual interest to the wall, making it less plain and contributing to a more cohesive and refined overall design. If your budget is limited and you have focused most of your renovation efforts on public areas, a simple headboard can add a decorative touch to your bedroom, giving it its own style and character.
Increase Storage Space
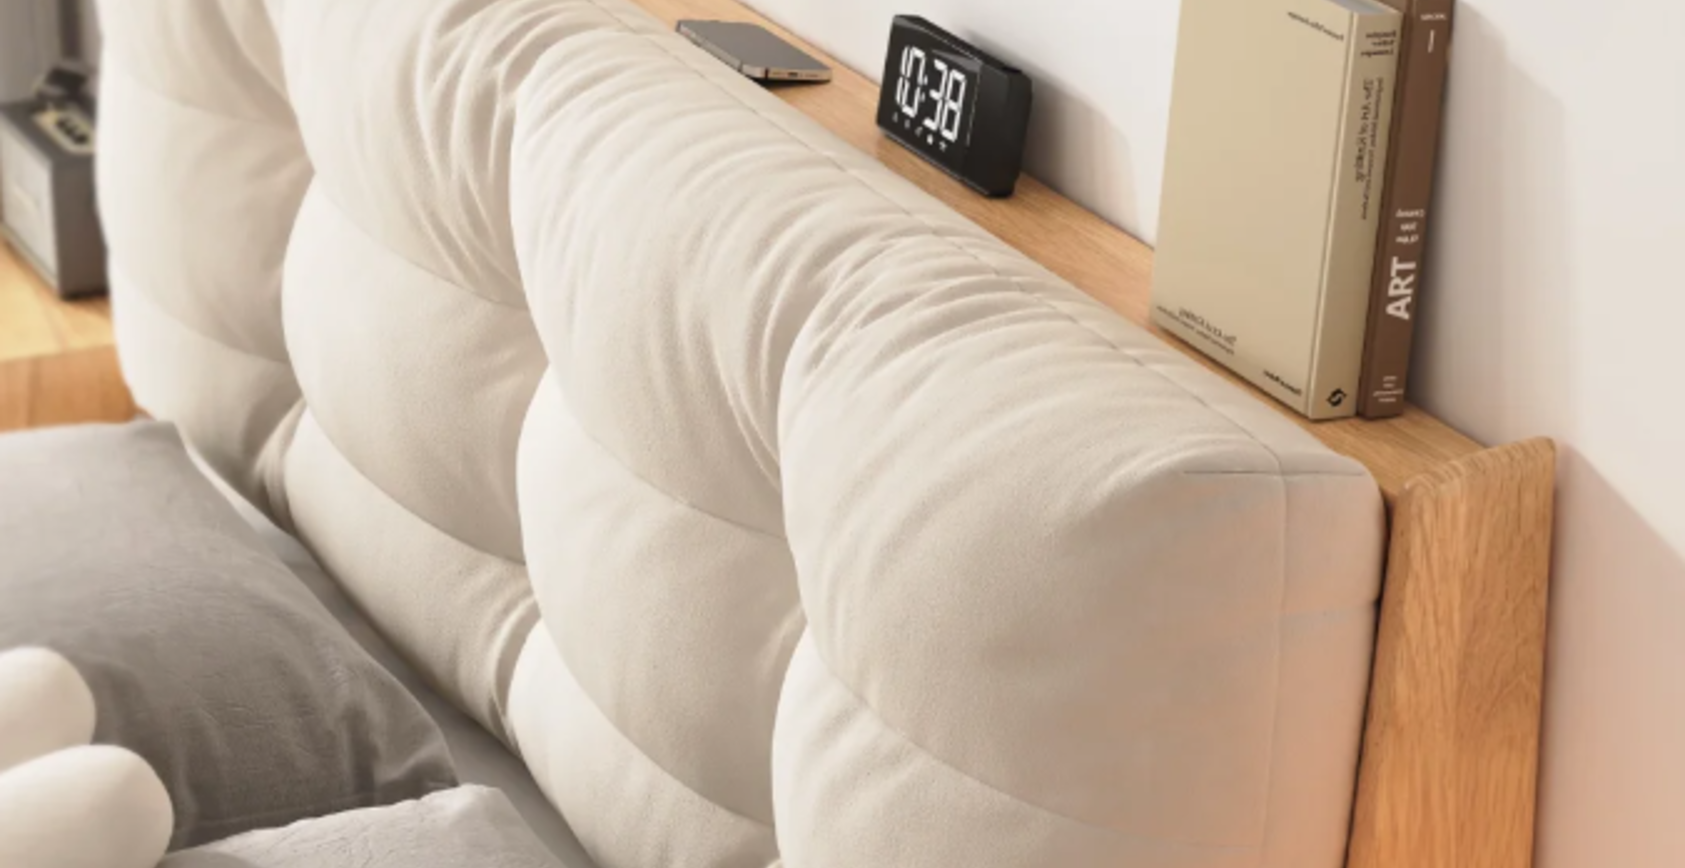
For larger bedrooms that require more storage, a headboard can be designed as a headboard cabinet, offering dual functionality. A headboard cabinet not only provides a platform for placing bedtime essentials for easy access but also offers storage for bulky items like blankets and pillows. This expands storage space, keeping the bedroom tidier and more comfortable. The design of the headboard cabinet can also complement the style of the headboard, creating a cohesive look while achieving the benefits mentioned above, making it a practical and attractive solution.

Step-by-step instruction
Design
Based on installation methods and shapes, headboards come in two types: angled backs and simple vertical panel designs. If considering an angled headboard, it's worth noting that it offers the significant advantage of providing back comfort when reclining while watching TV or reading.
The main parameters to consider when choosing a headboard are appearance and comfort. For those who frequently read or watch movies in bed, a soft headboard is more suitable. Given that the headboard is often leaned against, you should select a decorative fabric that is easy to maintain; durable materials like synthetic leather or genuine leather are ideal. While hard back options are suitable for those who prioritize design over comfort and functionality. You can experiment with the shape of the headboard while considering the bedroom's interior and concept. Suitable materials for hard backs include wood, metal, and plastic profiles.
Cut the Wood
Using a saw, cut the main piece of wood to the desired width and height for your headboard. Plywood or reclaimed wood works well. If your design includes additional elements (e.g., trim or panels), cut these pieces to size.

Mark and Drill Pilot Holes
Use a pencil to mark where you’ll insert the screws. Space them evenly along the edges and any joints between panels. For a more secure hold, place screws about 6 to 8 inches apart. Before using the electric screwdriver, drill pilot holes where you’ve marked. Pilot holes help prevent the wood from splitting and make it easier to drive in the screws.
Assemble the Headboard
Position the pieces of your headboard as planned. Use the electric screwdriver to drive screws through the pilot holes, securing the wood pieces together. Start with a low speed and gradually increase to ensure the screws are driven in straight. Tighten the screws until they are flush with the wood surface. Be careful not to over-tighten, as this can strip the holes or damage the wood.
Finish the Headboard
If desired, fill any visible screw holes with wood filler. Smooth it out with a putty knife and let it dry according to the manufacturer’s instructions. Sand the area to make it flush with the surrounding wood. Sand the entire headboard to ensure it is smooth and ready for finishing. This will help remove any rough spots and prepare the surface for painting or staining. If you’re painting or staining your headboard, apply the finish according to the manufacturer’s instructions. Allow it to dry completely before handling.
Summary
Transforming your bedroom with a DIY headboard isn’t just about adding a piece of furniture—it’s about creating a personal retreat that reflects your style and meets your needs. Whether you opt for a sleek, modern panel or a cozy, angled design, crafting your own headboard is a rewarding project that can refresh your space without a hefty price tag.
By incorporating simple yet impactful DIY headboard ideas, you can enhance your bedroom’s aesthetic appeal, improve comfort, and even boost storage functionality. From protecting your health by blocking moisture to making a bold design statement, a custom headboard is a versatile addition that can dramatically change the look and feel of your room.
Remember, the beauty of DIY is that it allows you to experiment and adapt ideas to suit your personal taste. Don’t be afraid to get creative—mix different materials, play with textures, and make your headboard truly one-of-a-kind. With just a bit of planning and some basic tools, you’ll find that updating your bedroom with a DIY headboard can be both fun and fulfilling.
So, gather your materials, fire up that electric screwdriver, and get ready to transform your space into a stylish and comfortable haven.


