How Can You Personalize Your Space with DIY Bookshelf Ideas
Are you looking to add a personal touch to your space while showcasing your favorite reads? DIY bookshelves offer a fantastic opportunity to blend function with creativity, transforming your home into a unique reflection of your style. Whether you’re an avid reader, a design enthusiast, or just someone who loves a good project, custom bookshelf ideas can help you create a one-of-a-kind feature that not only holds your books but also makes a statement about who you are.
In this blog, we’ll dive into exciting ways to personalize your space with DIY bookshelf ideas. From repurposing old furniture to crafting something entirely new, we’ll explore various techniques and materials that allow you to infuse your personality into every shelf. Get ready to unleash your creativity and turn a simple bookshelf into a standout piece of décor. Let’s get started on making your space truly yours!
The advantages of the wooden bookshelf
High Stability
Wooden bookshelves are made from solid wood, making them significantly more stable compared to shelves made from other materials. Additionally, solid wood bookshelves are less prone to deformation.
Good Moisture Resistance
Solid wood is known for its excellent moisture resistance. Therefore, a bookshelf made from solid wood provides a high level of protection against moisture, further highlighting the advantages of wooden bookshelves.
Termite Resistance
Bookshelves need to be resistant to pests, as books can attract insects over time. Wooden bookshelves inherently offer some level of pest resistance because solid wood emits a natural aroma that repels insects. This characteristic helps prevent book infestations and supports the preservation of your book collection.

Materials and tools needed
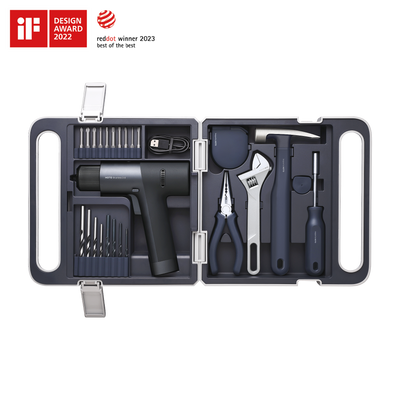
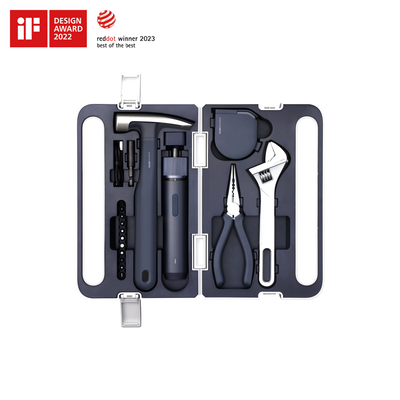
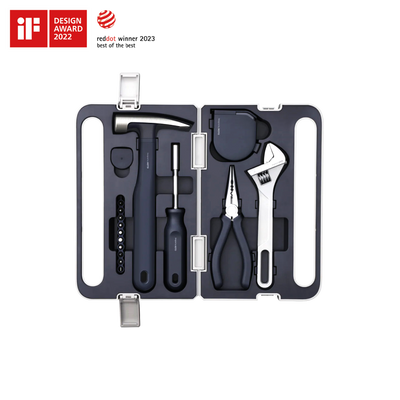
Tools Needed
- Drill with various bits
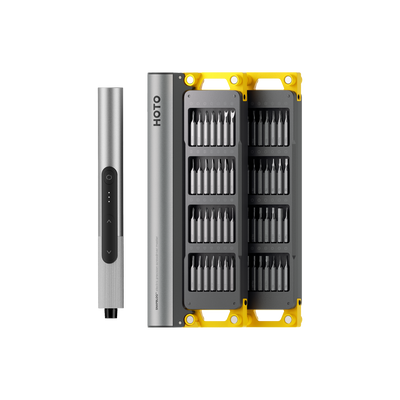
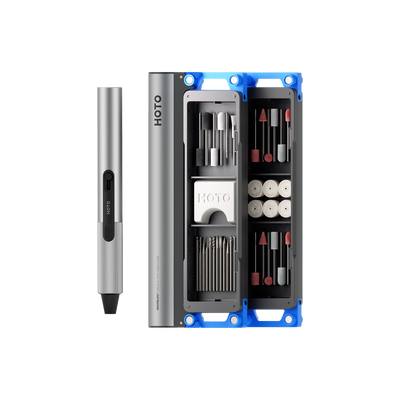
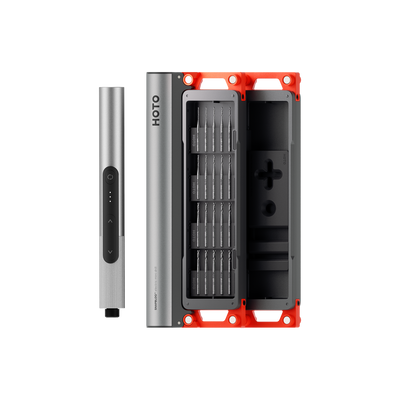
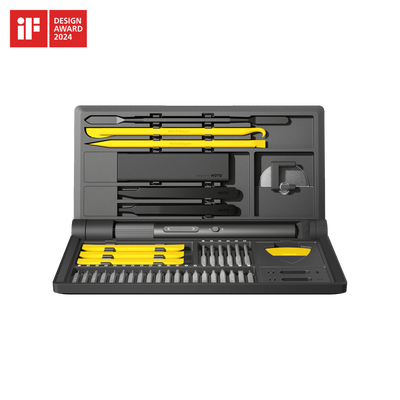
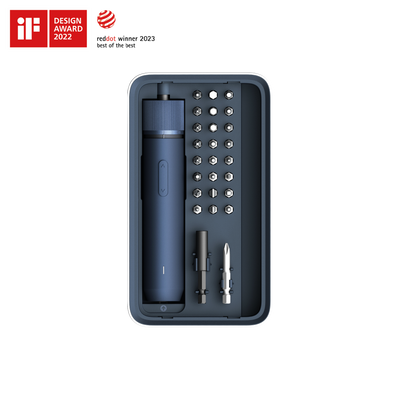
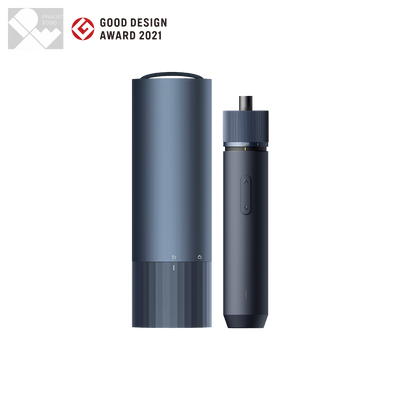
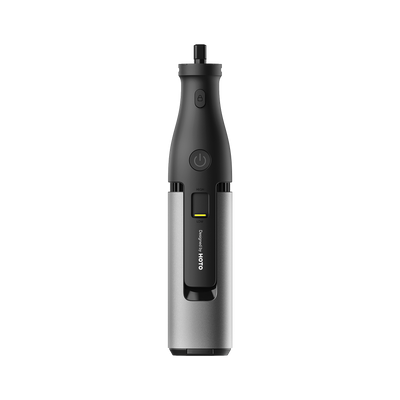
- An electric screwdriver
- Hacksaw or Chisel(for wood board processing; you can also have the store cut it for you in advance)
- Electric Sander (for effortless sanding; manual sanding is also an option)
Materials Needed
- Wood Boards (such as finger-jointed boards, no-paint boards, or other types depending on your needs)
- Stainless Steel Square Tubing (for support columns; you can also use aluminum profiles with sufficient strength)
- Stainless Steel Corner Brackets(for supporting shelves)
- Hinges, Handles, and Bolts

Step-by-step instruction
Assess Your Space and design
Before starting, measure the space where you plan to place your bookshelf. This will help you determine the size and shape of the bookshelf that will fit best. Decide how you want to use your bookshelf. Will it be for books only, or do you also want to display art, collectibles, or plants?
Cut the Wood Boards
In this step, we need to create 16 pieces of wood boards, each measuring 6 inches by 12 inches. The exact method used to produce these boards is not critical, but it is important that all the boards have consistent tolerances. To achieve this, you can follow these steps to cut the boards from a quarter sheet of 4-foot by 8-foot plywood.
First, cut a strip of plywood measuring 12 inches by 96 inches. Align the table saw blade to the 12-inch mark and cut the strip from the plywood. This is the only strip you’ll need for this project (you can adjust the width of the strip according to personal preference).
Next, align the table saw blade slightly off the 6-inch mark. Rotate the cut strip 90 degrees and then cut it into 16 identical pieces, each measuring 6 inches by 12 inches. Make sure to cut the last board again with the table saw to ensure its dimensions are perfectly consistent with the other boards. Additionally, always use a push stick when feeding the wood into the table saw to ensure safety.
Assemble
Apply a layer of wood glue to three of the wood boards. Then, position the boards and drive corner nails into the edges of the boards that join with the bottom board. These corner nails will keep the boards aligned while the glue sets. About 3 to 5 corner nails per board should be sufficient. Note that the vertical boards should be stacked on top of the bottom board, not placed alongside it. Misalignment can easily occur when drilling into the edges of the vertical boards from the bottom board. Ensure your fingers are clear of the area where the corner nails might come through.
Apply two coats of wood glue to the two vertical boards from the first step, then place a horizontal board on top to form a box shape. Drive a few corner nails from the top to prevent the boards from shifting while the glue dries. Once the horizontal board is securely glued, you can attach two new vertical boards to it. In this layer, position the vertical boards on the right side edge and back left edge, as opposed to the previous vertical boards, which were positioned on the left side edge and back right edge. This arrangement allows you to use a power screwdriver to drive corner nails through the horizontal board into the vertical boards from the bottom of the newly glued boards.
Repeat the steps for assembling the third, fourth, and fifth layers, changing the position of the vertical boards each time. This will create an “S” shaped structure.
Finish
Sand the entire bookshelf using sandpaper to smooth out any rough areas. Start with a coarse grit and finish with a fine grit. Apply paint or wood stain if desired. Follow the manufacturer’s instructions for application and drying times. For a polished look, apply a clear wood sealant or polyurethane.
Install
If the bookshelf is tall or prone to tipping, secure it to the wall using wall anchors and screws. This will prevent it from tipping over and ensure safety. Ensure the bookshelf is level and stable before adding books or other items.
Add Final Touches
Add decorative items or personal touches to your bookshelf, such as plants, photos, or art pieces. Arrange your books and other items in a way that suits your style and needs.
Summary
And there you have it! Crafting your own DIY bookshelf with the electric screwdriver is not just a way to organize your books but also a chance to infuse your space with personality and creativity. By choosing the right materials and following these steps, you can transform a few simple wood boards into a stunning, functional centerpiece that’s uniquely yours. Whether you opt for a sleek modern design or a more rustic, traditional look, your personalized bookshelf will not only showcase your favorite reads but also add a touch of charm and style to your home.
Remember, the beauty of DIY is in making something that reflects your taste and meets your needs. Don’t be afraid to experiment with colors, finishes, and decorative elements. Your bookshelf can be as practical as it is beautiful, serving as a testament to your ingenuity and love for design.
So gather your tools, pick out your wood, and get ready to build something that’s more than just storage—it's a piece of art and a statement of who you are. Happy crafting, and here’s to making your space truly your own with good DIY bookshelf ideas!


