How to repair mobile phone screen via a portable precision screwdriver set
In today’s digital world, our smartphones are more than just gadgets—they’re our lifelines, entertainment centers, and productivity tools. So, what happens when you accidentally crack your phone screen and need a replacement? Buying a new phone can be pretty pricey, especially when you know your current phone still has another two years of life left in it.
You might consider how to repair mobile phone screen safely and quickly. Heading to a physical store for a repair can be expensive. Mailing it to a service provider is another option, though it’s often slow and can feel risky. However, there’s a third option that many people find both satisfying and cost-effective: fixing the screen yourself.
In this blog post, with our straightforward instructions and handy tips, you’ll be able to bring your device back to life, save some money, and gain some handy DIY skills along the way. So, let’s get started and give your phone the second chance it deserves!
The necessity of repairing mobile phone screen
Using a phone with a cracked screen isn’t just a cosmetic issue—it can lead to several unpleasant and potentially serious consequences. Here’s why you should address that crack sooner rather than later:
Sharp Fragments
When your screen shatters, tiny glass fragments can remain on the surface. These shards are sharp and can easily cut or scratch your fingers during regular use, turning a simple swipe into a painful experience.
Bacterial Harboring
Cracks and gaps in your screen are perfect spots for bacteria to collect. This buildup can lead to skin issues like redness, swelling, or itching, especially if you frequently handle your phone.
Eye Strain
A broken screen doesn’t just look bad—it can also cause visual problems. The cracks create multi-directional reflections and glare, which can strain your eyes and lead to discomfort during extended use.
Potential Liquid Damage
If you tend to use your phone with sweaty palms, that moisture can seep through the cracks and reach the internal display. This can cause serious issues, such as liquid damage, display malfunctions, or even leakage. If you notice black patches or dots on your screen, it’s a sign of internal damage, and you should seek repair immediately. Delaying can worsen the damage and even pose risks to your health.
Ways to fix a cracked phone screen
If you're dealing with a broken mobile phone screen, there are a handful of options for fixing it:
- Ask your mobile carrier to repair it
- Bring it to the nearest phone repair shop
- Repair it yourself
Phone screens typically consist of three key layers: the outer screen, the touch screen, and the inner display. To assess the extent of any damage, here’s a quick guide: If the display still works but the screen is cracked or shattered, it usually means only the outer screen is damaged. However, if the display is completely non-functional, it’s likely that the inner screen has taken a hit. In most cases, if the inner screen is damaged, it affects the entire display, which means you'll need to replace the whole screen assembly.
If your phone takes a tumble and the screen becomes unclear or unresponsive, it's a strong indicator that a screen replacement might be in your near future. This isn’t just about fixing a crack—there’s a lot of valuable data, photos, and information on your phone that you'll need to recover. Plus, you'll want your phone to be functional for at least a little while to transfer everything over before it becomes completely unusable. So, if you find yourself with a damaged screen, addressing it promptly can save you from more headaches down the line.
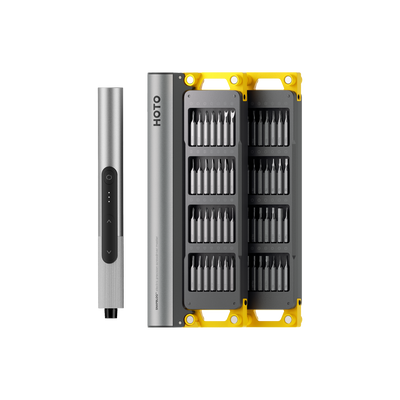
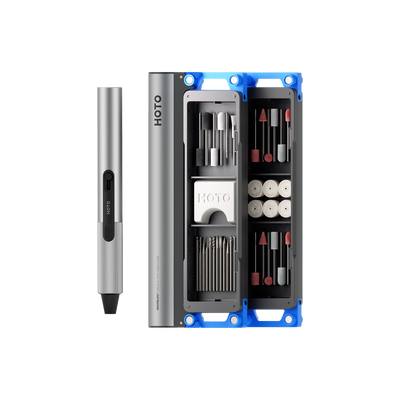
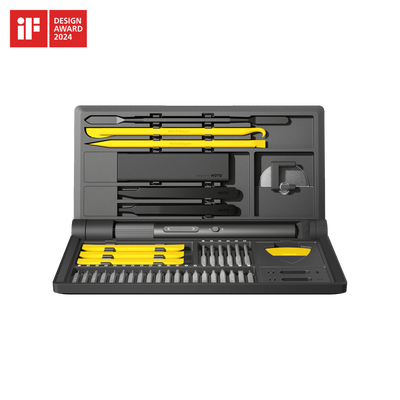
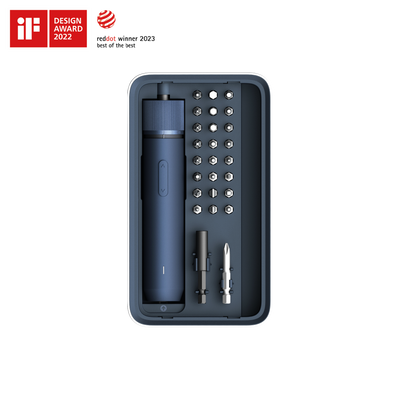
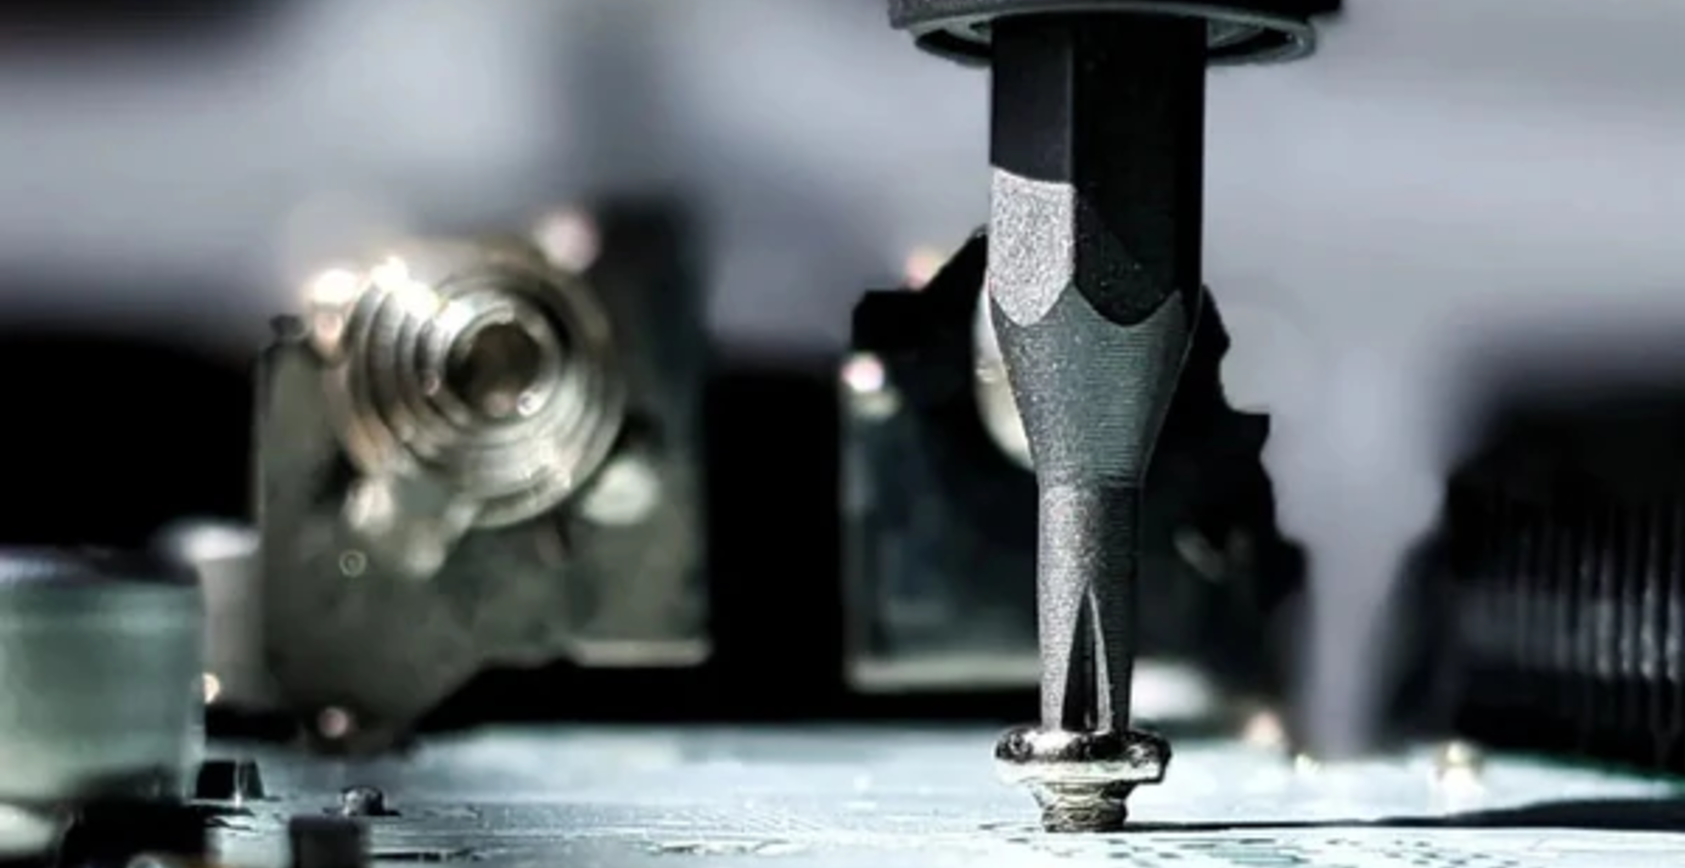
A portable precision screwdriver set can be a real lifesaver when removing the back cover of your phone. It usually includes small, specialized screwdrivers designed for delicate tasks, such as repairing electronics. You need it for phone screen repair because phones have tiny screws that require specific sizes and types of screwdrivers to remove and reinstall without causing damage. There are quite a few small screws holding things together, and they vary in size. To keep things organized, lay out the screws in the order you remove them. This way, when you put everything back together, you’ll know exactly where each screw goes.

For extra help, grab a card—like an old bank card or something even thinner if you have it. Another handy tool is a hairdryer. Use it to warm up the back cover and soften the double-sided tape underneath; this makes it much easier to pry off. Don’t worry if you're new to this—most sellers include a step-by-step video guide that makes the process straightforward.
When it comes to removing the battery, take your time and go slowly. If you notice the battery is slightly bent, don’t stress. You can straighten it out by rolling it gently with a cylindrical object. If you don’t have a cylinder handy, a water bottle will do the trick. As you reinstall components like the motherboard, camera, and battery, make sure to follow the correct sequence. Before sealing everything up with the back cover, it’s a good idea to test the screen. Usually, it should work perfectly—both display and touch functions should be spot on.
How to protect your phone screen
Apply a Tempered Glass Protector
Tempered glass protectors are currently the most advanced products for enhancing screen protection. They completely cover the original screen, preventing damage and scratches from external forces, and offer increased shock absorption—up to five times higher than standard protectors. They do not affect the screen's video quality.
Place the Phone in Your Pocket with the Screen Facing Inward
When placing your phone in your pocket, make sure the screen faces inward, not outward. Additionally, avoid putting hard objects like keys or nail clippers in the same pocket as your phone. It's also wise not to keep your phone in the back pocket of your pants, as sitting on hard objects can not only damage the screen but potentially harm the entire phone.
Consider Screen Protection Insurance
Many major smartphone brands offer "screen protection insurance." When purchasing a new phone, don't forget to include this service. If the screen accidentally breaks, the manufacturer will replace it for you. Although this option incurs an additional cost, it provides a relatively low-cost way to ensure your phone has a chance for a replacement in the event of a drop. This way, even if you do end up breaking the screen, you won’t have to worry—just send it back to the manufacturer for a fresh replacement.
Apply a durable phone case
When choosing a phone case, in addition to protecting the phone’s back, you can opt for a flip case that also protects the screen. If you find this inconvenient to use, you can choose a phone case that protects the edges, such as a bumper case or a soft silicone case, which are also good options.
FAQs
Do I need to replace any adhesive or use any special glue?
Most phone screens use adhesive strips or double-sided tape. When installing the new screen, you may need to apply new adhesive. You can use pre-cut adhesive strips or a small amount of adhesive glue, following the manufacturer’s recommendations.
What if I encounter problems during the repair?
If you encounter difficulties, consult online repair guides or videos specific to your phone model. If you're unsure or uncomfortable with the process, consider seeking help from a professional repair technician.
How can I ensure that my phone functions correctly after the repair?
Once the new screen is installed, power on your phone and test it thoroughly. Check the display, touch sensitivity, and any other functions like the front camera and sensors to ensure everything is working correctly.
How do I choose the right replacement screen for my phone?
Ensure the replacement screen is specifically designed for your phone model. Check compatibility with your device’s make and model. Purchasing from reputable suppliers or manufacturers can help ensure you get a quality replacement.

Summary
And there you have it—a comprehensive guide on how to repair your mobile phone screen using the portable precision screwdriver set! While it might seem daunting at first, with a little patience and the right tools, you can tackle this repair yourself and save a substantial amount of money.
Remember, the key to a successful repair is attention to detail and a steady hand. Don’t rush the process, and make sure you handle every component with care. If you run into any issues, don’t hesitate to revisit the tutorial or seek additional help from online forums or repair communities.


