


How to make homemade bird feeders by general home tool kits
Bird feeders are a wonderful way to bring the beauty of nature right to your doorstep. By attracting a variety of birds, you can enjoy the colorful sights and cheerful sounds of wildlife from the comfort of your home. While commercial bird feeders can be effective, making your own homemade bird feeders by general home tool kits offers a unique opportunity to create something tailored to your preferences and to exercise your creativity. In this guide, not only will you gain a satisfying sense of accomplishment from building something with your own hands, but you'll also be providing valuable resources for local birds.
The Joy of making a homemade bird feeder
Support Bird Conservation
Many urban-dwelling birds now are facing challenges in finding food, which can threaten their survival. Yet, households often have expired grains going to waste. By using these grains for supplemental feeding, you help support the health and survival of local bird populations.
Encourage Bird Behavior Observation
Birdwatching offers more than just a hobby; it provides a serene connection with nature and a unique opportunity to study biodiversity. Observing birds at your feeder allows you to deeply know their behaviors and ecology, fostering a deeper appreciation for wildlife.
Satisfaction of DIY Achievement
Crafting your own bird feeder is a deeply satisfying experience. From planning and gathering materials to assembling and hanging it, each step brings a sense of accomplishment. Creating something both functional and visually appealing enhances this feeling of fulfillment. Throughout the process, you can also acquire valuable insights into birds and woodworking, adding richness to your journey.
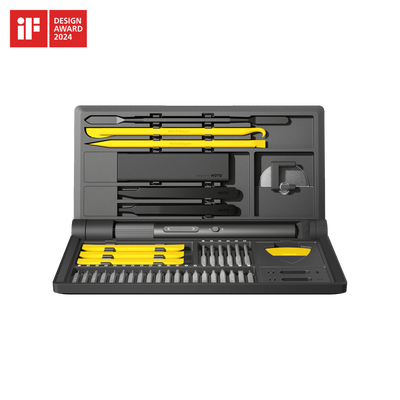
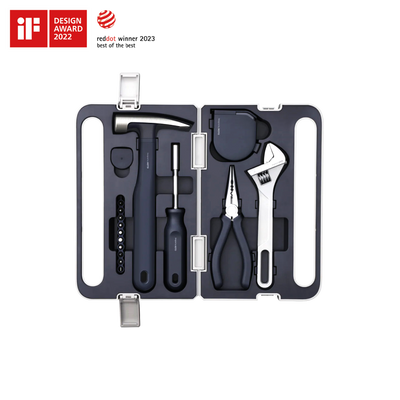
You need
Materials
- Wood, plastic, or metal (depending on your design)
- Bird seed
Tools
- Drill and drill bits
- Saw
- Electric screwdriver and screws
- Measuring tape or ruler
- Pencil or marker
- hot glue gun or adhesive
- Sandpaper
- Paintbrush and non-toxic paint or sealant( optional )
- Wire or string
- Safety gear (gloves, safety glasses)
The general home tool kits includes a wide range of tools, allowing you to finish the DIY crafts, most tackle basic repairs and maintenance tasks. This can save you both time and money, particularly for minor fixes and upkeep around the house.

Step-by-step instruction
The plastic bird feeder
Prepare the Plastic Bottle
Start by cleaning the bottle thoroughly, removing all labels. Use a mild bleach solution to sterilize the bottle, then rinse it well. Let the bottle air dry for a few hours or overnight to ensure there is no moisture inside that could spoil the seeds.
Add Feeding Ports and Perches
Cut off the bottom of a larger plastic bottle to catch any seeds and provide a perch for the birds. Remove the bottle lid, which will serve as seed storage. Attach the cut bottle bottom to the lid using screws to secure them together. Create a small hole near the neck of the bottle to allow seeds to dispense gradually.
Assemble the Feeder
Use a funnel to pour birdseed into the bottle. If the feeding ports are too large, apply clear tape inside and outside of the holes, then punch smaller holes in the tape to regulate seed flow. Gently shake the feeder to ensure the seeds can easily pass through the feeding ports. Securely replace the bottle cap, optionally using hot glue to seal it tightly.
Add Hanging Mechanism
Near the bottom of the bottle, drill or cut two small holes. Thread a piece of strong string or wire through these holes and tie a knot to create a sturdy hanging loop. The string or wire need to be robust enough to support the weight of the filled bottle.
Finish Touches
Smooth any rough edges around the holes and bottle opening with sandpaper to protect birds from sharp edges. Consider painting or sealing the plastic bottle with non-toxic materials to enhance durability and weather resistance. Allow the paint or sealant to dry completely before hanging the feeder.
The wooden bird feeder
Design and Cut
Start by choosing the type of bird feeder you want to make—whether it’s a platform feeder, hopper feeder, or tube feeder. For a straightforward design, like a basic box shape, you'll need just six square boards. If you're aiming for something more intricate, like a small birdhouse, you'll need to carefully consider the dimensions.
Begin by sketching out your design and noting down the measurements. Measure with the self-locking measuring tape and cut the wooden planks based on your design. Typical components include the base, sides, and roof.

Assemble the Feeder
Use wood glue and screws or nails to attach the sides to the base. For a hopper feeder, attach the sides to the bottom piece and secure the roof on top. For each joint where you will insert screws, use a drill bit slightly smaller than the diameter of your screws to create pilot holes in the wood. This helps prevent the wood from splitting when you drive in the screws.
How to Screw into Wood properly
When assembling a wooden bird feeder, getting the screwing process right is crucial. Here are some key steps and tips to follow.
Choose the Right Screw
Use self-tapping screws, which create their own threads when driven into wood. Common sizes include M3.5, M4, and M5, and you should choose a length that suits your specific needs. Ensure the screws are long enough to securely fasten the boards together without protruding through the other side. Ideally, the screw length should be slightly shorter than the combined thickness of the boards.
Self-tapping screws are available in two head types: pan head and countersunk. Pan head screws offer a larger contact area for better grip and are suitable for applications where the screw head won't be visible. Countersunk screws are more aesthetically pleasing and are perfect for surfaces where the screw head will be exposed.
Pre-Drill Holes
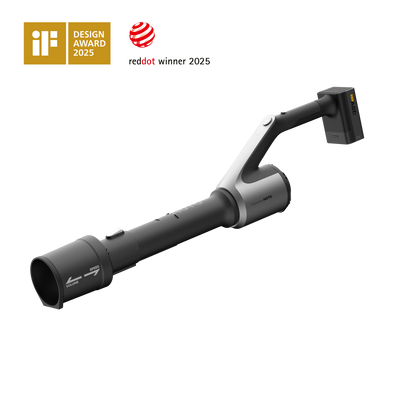
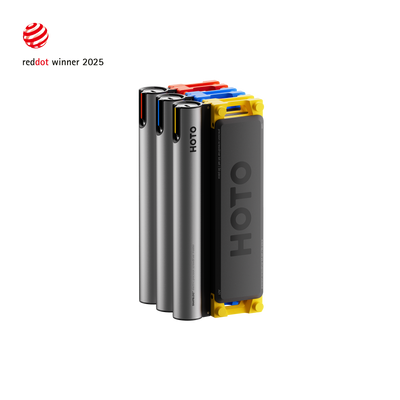
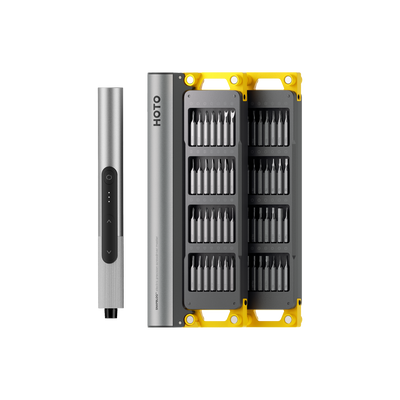
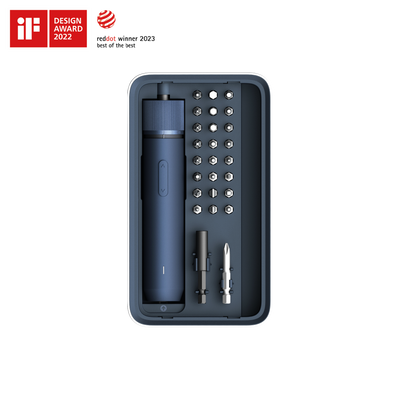
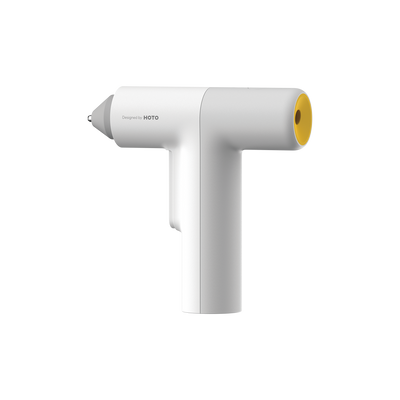
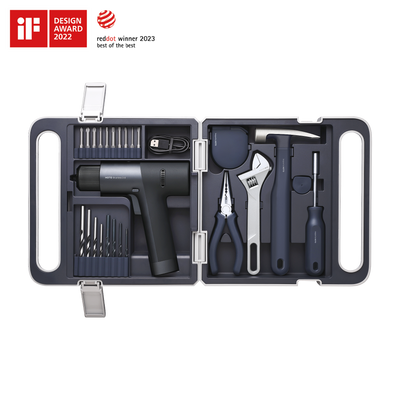
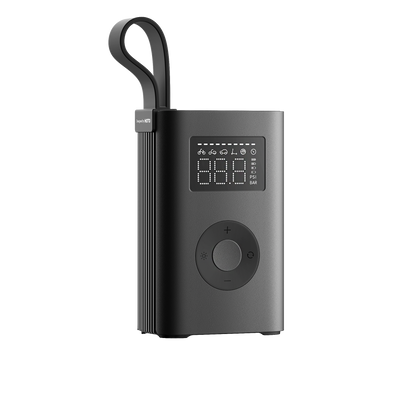
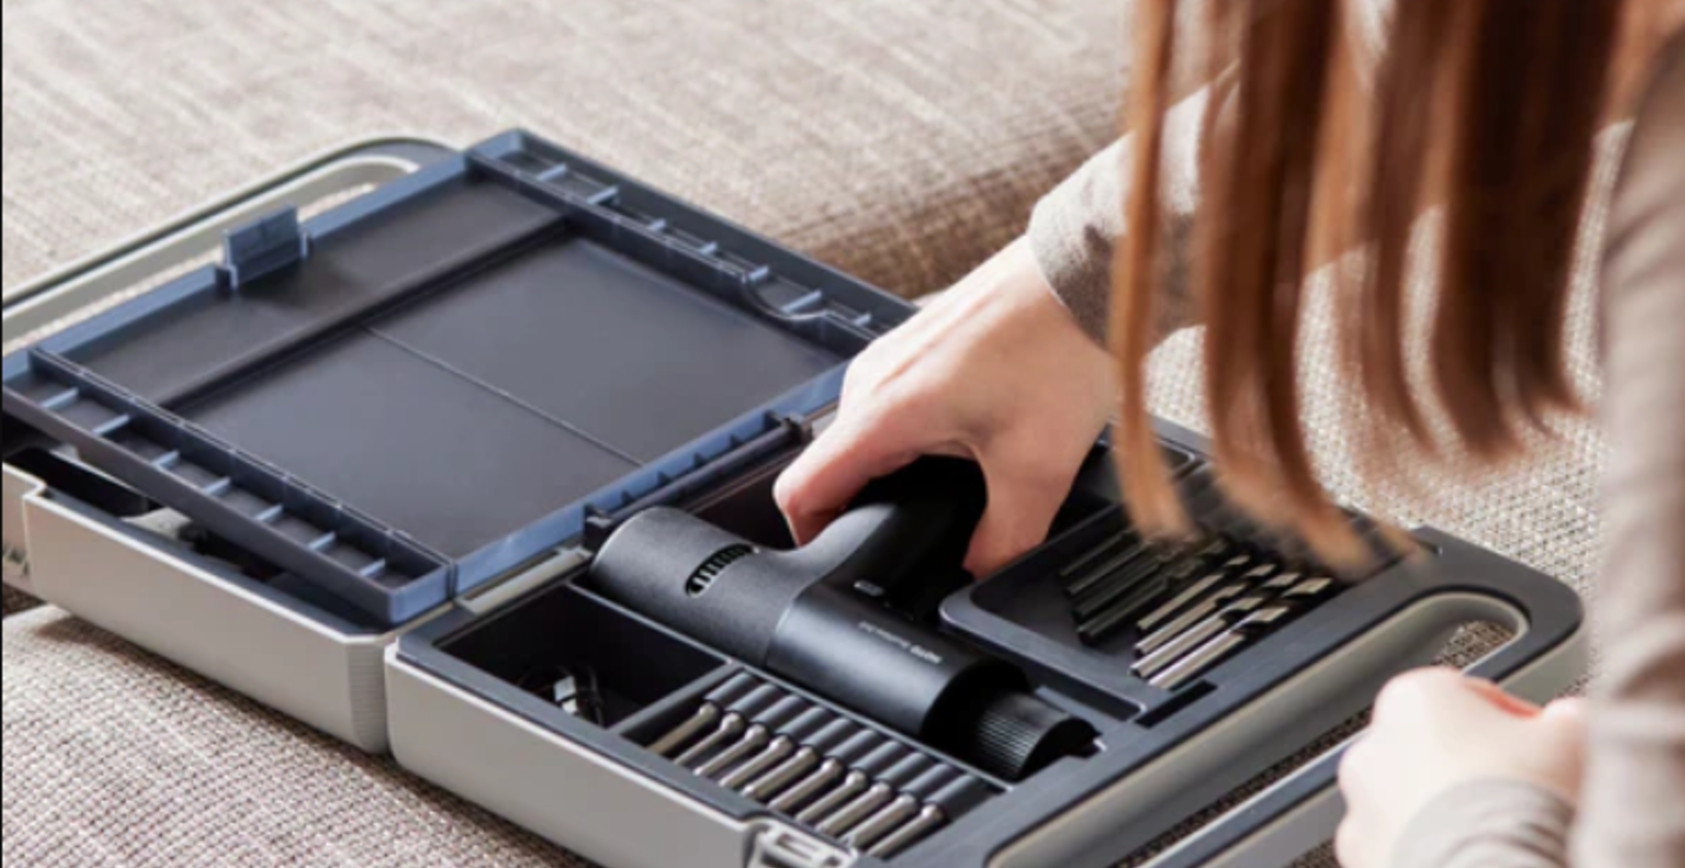
For harder woods or longer screws, you can use HOTO Cordless Brushless Electric Drill to drill a pilot hole that’s slightly smaller than the screw. This prevents the wood from splitting and makes it easier to drive in the screw. Ensure the screw is perpendicular to the wood surface. To help with alignment, tap a small dent with a nail to guide the screw’s tip.
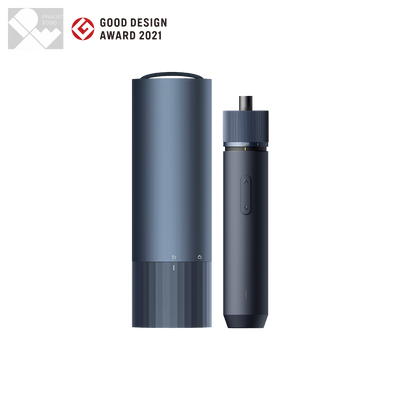
Choose the Right Tools
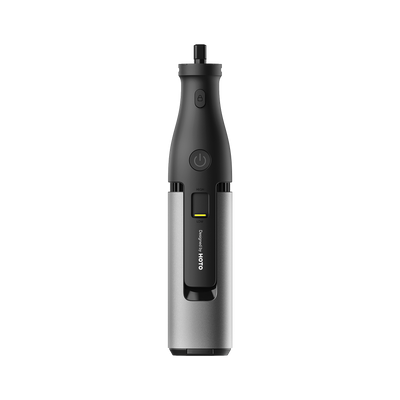
Use a manual screwdriver or an electric screwdriver to drive in the screws. For multiple screws, an electric screwdriver or drill can speed things up. It’s better to choose the electric screwdriver with the intuitive forward-and-reverse button, which allow you to simply pick it up and screw in the screw. It’s designed for comfortable and secure handling, ensuring a steady grip during use.

FAQs
Where is the best location to place the bird feeder?
Birds will only feed where they feel safe, so in general, try to keep feeders on the ground, near cover such as trees or bushes, but with a good elevation so they can easily spot any impending threats.
How do I maintain and clean the bird feeder?
Regular Cleaning: Wash the feeder with a mild detergent and water at least once a month, or more frequently if it becomes dirty.
Inspect for Damage: Check for any wear and tear or damage and repair or replace parts as needed.
Refill Seeds: Refill the feeder regularly, but avoid overfilling because if the seed isn't eaten after a few days, it may become moldy or attract insects.
How can I attract more birds to my feeder?
To attract a variety of birds, offer a selection of different seeds. Birds have their favorites, so you might need to experiment to find out which seeds they prefer most.
What if I notice squirrels or other animals eating from the feeder?
You can install baffles or deterrents to keep squirrels away or position the feeder away from branches or structures that squirrels can use to reach it.
Summary
In conclusion, making homemade bird feeders with general home tool kits is both a fun DIY project and a great way to help local wildlife. By following these steps, you'll craft a functional and personalized feeder that draws various bird species to your yard, enhancing your birdwatching experience. This project not only supports bird populations but also deepens your connection to nature and promotes sustainability by repurposing materials.


