


Bathrooms aren’t the biggest rooms in the house — but they often feel like the hardest to clean.
Residue doesn’t build up overnight. Moisture, steam, soap, and body oils accumulate quietly, day after day. Miss the right moment, and by the time the buildup becomes visible, it already takes more effort to remove.
Bathrooms aren’t difficult because they need deep cleaning. They’re difficult because they need timely cleaning. That’s why a simple weekly reset works — it keeps maintenance easy, predictable, and short.
In this guide, we’ll break down a beginner-friendly 30-minute weekly bathroom cleaning routine that prevents buildup before it becomes a problem.
Why Weekly Bathroom Cleaning Works
Research and professional cleaning standards consistently point to weekly maintenance as the most effective frequency for bathrooms. Clean often enough, and dirt never fully settles. Miss that window, and you’re forced into heavy scrubbing and “deep cleaning” sessions.
This happens because most bathroom residue hardens over time. Soap scum and minerals bond to surfaces, moisture seeps into grout lines, and once that layer sets, cleaning requires force instead of technique.
Weekly cleaning interrupts this process early — before buildup becomes stubborn. Instead of fighting residue, you’re simply removing it while it’s still loose.

The 15-Minute Weekly Bathroom Reset (Step by Step)
Phase 1: The Setup (Minutes 0-5)
Clear the space and let chemistry do the work.
Cleaning agents need time to break down the molecular bonds of soap scum and hard water deposits. This "dwell time" is the most skipped step, yet it is the most critical.
-
Clear the Decks: Remove shampoo bottles, used towels, floor rugs, and the trash can. You need empty surfaces to work efficiently.
-
Spray Generously: Apply your bathroom cleaner to the tub, shower walls, sink, and toilet bowl.
-
Wait: Do not touch them yet. Let the spray sit while you move to the next phase.
Phase 2: The Dry Clean (Minutes 5-10)
Utilize the waiting time efficiently. Remove dust before it turns into mud.
While your cleaner is dissolving grime in the wet zones, handle the dry surfaces. Always work from top to bottom so any falling dust lands on the floor, which you will clean last.
-
Dust: Quickly dust light fixtures, the top of the vent fan, and shelves.
-
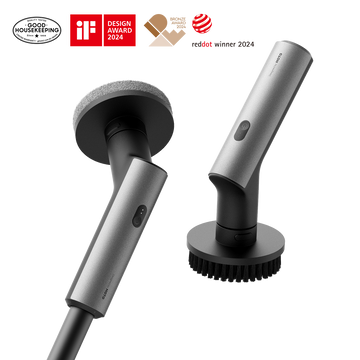
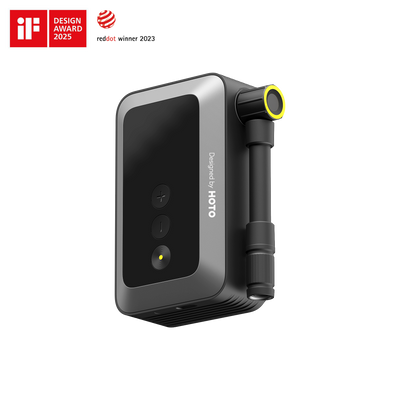
Mirrors: Instead of wiping by hand, lightly mist the mirror and use an electric scrubber with a soft brush or sponge head to clean the surface evenly. A tool like the HOTO Electric Spin Scrubber helps distribute pressure consistently, reducing streaks and minimizing repeated wiping. Finish with a microfiber cloth if needed for a clear, dry finish.

Shop HOTO Electric Spin Scrubber →
Phase 3: The Deep Scrub (Minutes 10-20)
Tackle the biggest surfaces efficiently.
Now that the cleaner has done its work, it’s time to agitate the dirt. This phase focuses on the large, flat surfaces: the bathtub floor, tiled walls, and shower doors. Usually, this is the most physically demanding part of the routine
-
Start from the Top: Begin scrubbing the shower walls. Gravity helps the dirty water flow down, so you don't have to clean the same spot twice.
-
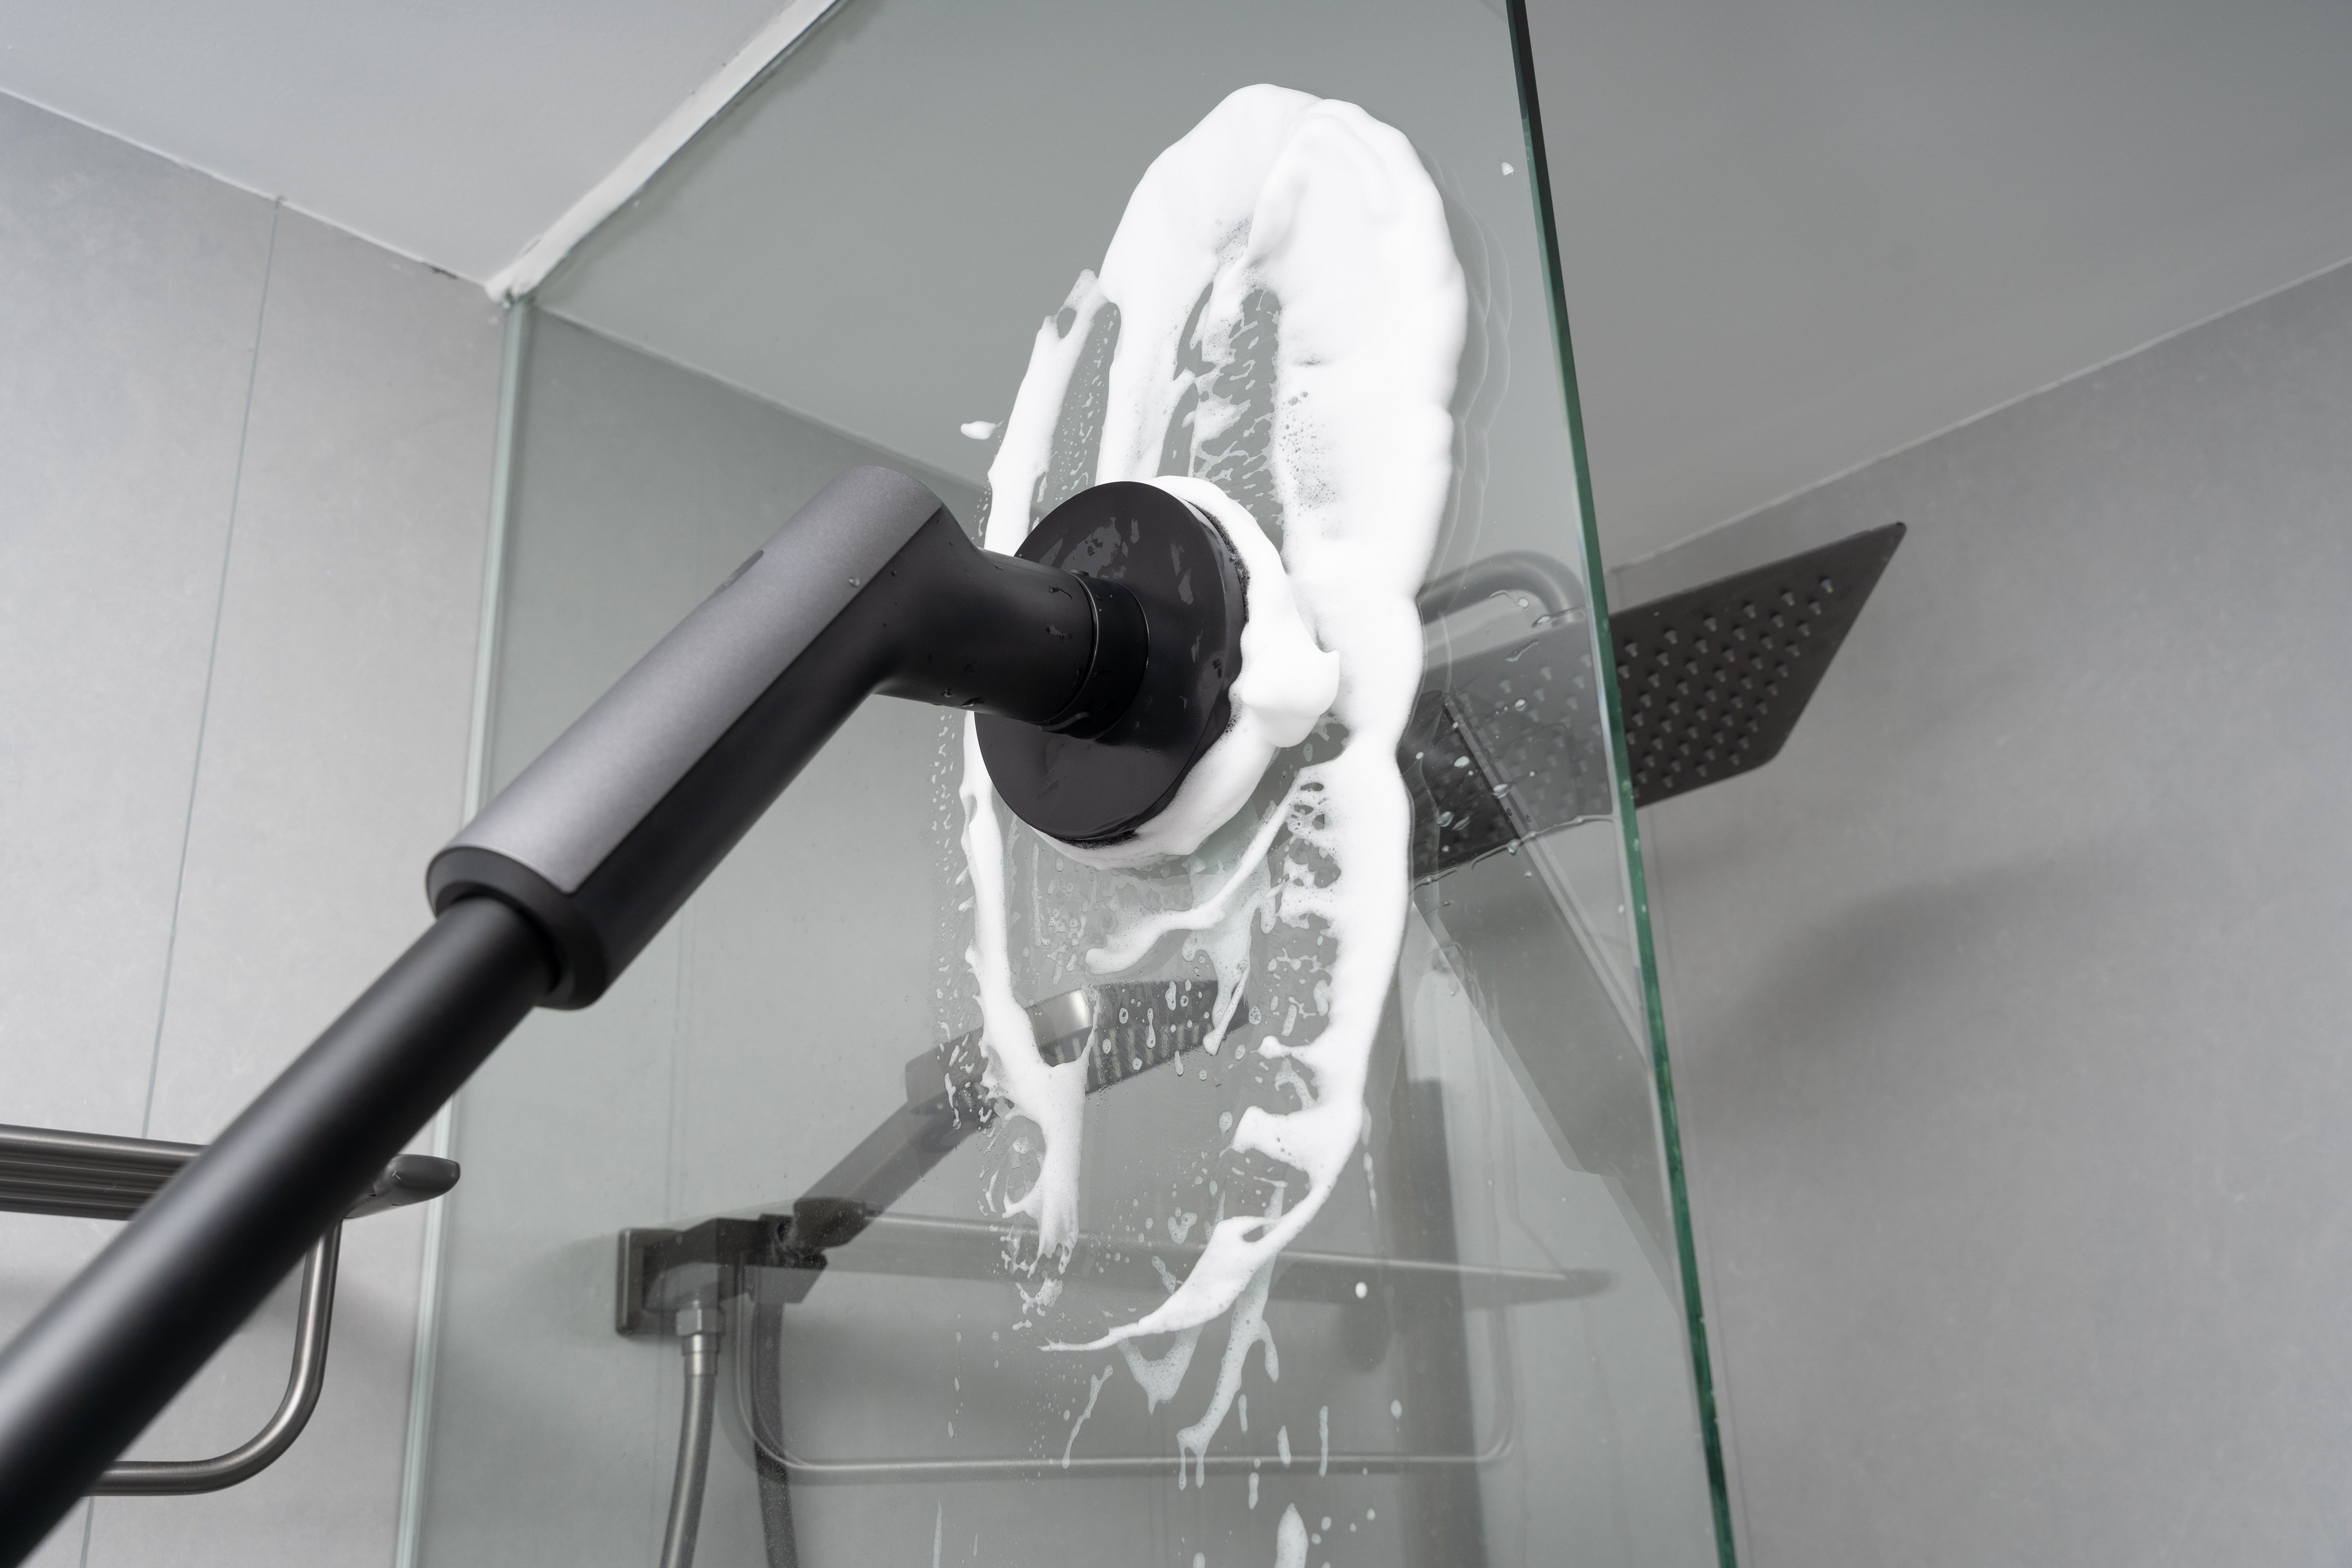
Tackle the Large Flats: For broad areas like tiled walls and bathtub floors, consistency matters more than pressure. At this stage, continuing with an HOTO Electric Spin Scrubber keeps movement smooth and even, reducing strain on your wrists and back. This is also the point where adding an extension handle makes a noticeable difference.

-
The Rinse: Once scrubbed, rinse the tub and shower walls with warm water immediately to prevent the loosened dirt from drying back onto the surface.

Phase 4: The Detail Work (Minutes 20-25)
Focus on the sink, fixtures, and tight corners.
Bathrooms are full of ergonomic challenges: the tight space behind the sink faucet, the curvature of the toilet base, and the corners where the tub meets the floor.
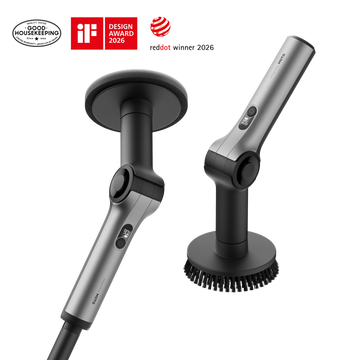
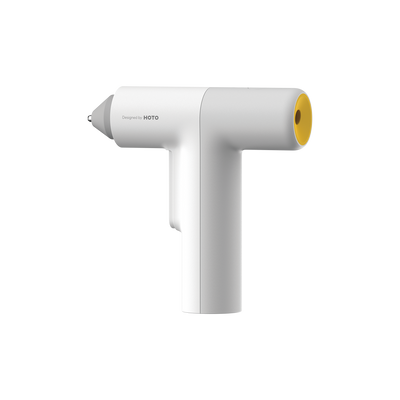
Reaching these dead zones often requires awkward bending or kneeling. For these specific challenges, the HOTO Flexi Cordless Spin Scrubber offers a refined solution. As an iteration designed for better ergonomics, the Flexi model features an adjustable head angle. This allows you to reach into tight crevices or under fixtures while maintaining a comfortable standing or sitting posture, solving the pain points that standard fixed-head brushes can't quite reach.

-
Target the "Dead Zones": Use the adjustable head to clean the grout lines where the floor meets the tub, and the dusty curves around the base of the toilet. These are usually the areas that get neglected because they are hard to reach.
-
The Sink & Vanity: Move to the sink. Scrub the basin thoroughly, paying attention to the drain ring. Wipe down the countertop, lifting any soap dispensers or toothbrush holders to clean the slime that accumulates underneath them.
-
Shine the Fixtures: Finish by using a dry microfiber cloth to buff the faucets and shower handles. Removing the water spots is the "magic touch" that makes the whole bathroom look professionally cleaned.

Shop HOTO Flexi Cordless Spin Scrubber →
Phase 5: The Final Finish (Minutes 25-30)
Sanitize and reset the room.
-
The Toilet: Quickly scrub the bowl (the cleaner has been active for 20 minutes now, so grime should lift easily) and wipe down the seat, lid, and flush handle with a disinfectant wipe.
-
The Floors: Vacuum or sweep your way out of the room. Finish with a quick mop using a flat microfiber mop.
-
Restock: Put clean rugs, fresh towels, and toiletries back in place.

Tips for Maintaining the Sparkle
-
Dry Before You Go: If you have a squeegee, quickly wiping down the glass shower door after every shower is the single best way to prevent hard water stains from forming in the first place.
-
Ventilation: Always run the exhaust fan for 20 minutes after a shower to reduce humidity and prevent mold growth.
-
Daily Wipe: Keep a small microfiber cloth inside your vanity drawer. Wiping the sink faucet dry immediately after brushing your teeth prevents water spots from ever forming.
-
Clean Your Tools: Rinse your brush heads in hot soapy water after every use and let them air dry completely. This prevents bacteria growth and keeps the bristles stiff and effective.
Printable: The 30-Minute Reset Checklist
Save this image or print it out for your cleaning caddy.


Author: Chirmie