










Replacing a doorknob is a straightforward DIY project that usually takes just a few basic tools. If your new doorknob matches your door’s thickness, bore diameter, backset, and latch opening, you can typically replace it without drilling or modifying the door.
In this guide, you’ll need:
Before You Start: Check the Fit
Before removing anything, make sure the replacement set matches your existing door’s thickness, bore diameter, backset, function and installation orientation. If the new hardware matches the existing openings, no drilling or reshaping should be necessary.
Keep the door open throughout the installation until you’ve confirmed that the new knob and latch work properly.
How to Replace a Doorknob
Step 1: Remove the Old Doorknob
Remove the two mounting screws while supporting the opposite side of the knob. Separate the two halves and pull the spindle out of the latch.
Next, remove the latch faceplate screws and slide the old latch out of the door. If you're replacing the complete hardware set, remove the old strike plate from the door frame as well.
Tip: If the knob does not come apart after removing the visible screws, check the manufacturer’s instructions for a hidden fastener or release mechanism. Do not force or pry the hardware apart.

Step 2: Clean the Door and Frame
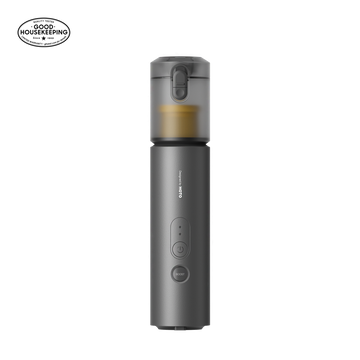
Remove dust and debris from the door edge, latch opening, and strike area before installing the new hardware. Use a handheld vacuum to clear debris without spreading it around the work area.

Step 3: Install the New Latch and Strike Plate
Slide the new latch into the opening on the edge of the door, with the beveled side facing the strike plate. Secure the latch faceplate with the provided screws, then install the new strike plate into the existing recess on the door frame.
Tip: Make sure the latch faceplate sits flush with the edge of the door before tightening the screws.

Step 4: Install the New Doorknob
Insert the exterior knob and spindle through the latch, then position the interior knob on the opposite side. Start both mounting screws by hand.
Tip: Leave the screws slightly loose at first so you can align both sides of the knob. Once everything is centered, tighten the screws alternately rather than fully tightening one side first.

Step 5: Test the New Doorknob
Before closing the door completely, test the new hardware several times.
Make sure the knob turns smoothly, the latch retracts and springs back fully, and the latch aligns with the strike plate.
If the door requires extra force or the latch does not line up correctly, reopen the door and adjust the alignment before using it normally.

Tools Used in This Project
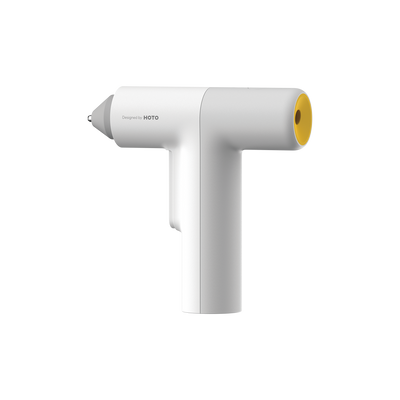
HOTO PixelDrive Cordless Screwdriver
For removing and installing the mounting, latch, and strike plate screws.
HOTO AutoCare Air Duster & Vacuum
For quickly clearing dust and debris from the door and frame before installation.
Author: HOTO PR Team