







Your ceiling is easy to ignore until a stain or a bubbling patch gives you a reason to look up. A water-damaged ceiling needs more than fresh paint when the drywall has softened or started to crumble. Once the leak is fixed and the area is safe, a localized repair involves replacing damaged board, rebuilding the seams, and matching the surrounding finish.

In this guide, you’ll need:
Before You Start: Fix the Leak
Find and repair the water source before patching. Keep clear of bulging or sagging areas until assessed, and seek professional help for unstable ceilings, extensive mold, or contaminated water. If water has reached electrical fittings, have them made safe first.
Older coatings may contain asbestos or lead. Have suspect materials assessed before cutting or sanding. For a suitable local repair, protect nearby surfaces and use stable access equipment.
How to Repair the Ceiling
Step 1: Remove the Damaged Drywall
Locate framing and check for concealed wiring or pipes before cutting. Mark an opening that extends into sound drywall, then carefully remove the damaged material. Plan the edges so the replacement can attach to ceiling joists or suitable backing.


Step 2: Dry and Inspect the Area
Check exposed framing and insulation for moisture and damage. Replace insulation that cannot be dried or salvaged, and address any mold before closing the opening. Use ventilation or dehumidification as appropriate, and confirm the cavity is dry before continuing.

Step 3: Check for Returning Moisture
In this project, paper towels were taped over the affected surface overnight to watch for moisture returning. Treat this as an extra visual check: dry paper does not prove the leak is fixed or the cavity is dry.
Confirm the repair under the conditions that caused the leak, and check framing and insulation before closing up. Replace unsalvageable material and allow everything to dry thoroughly. Seek professional assessment if uncertain.

Step 4: Cut and Secure the Replacement
Measure the opening and cut matching drywall to fit.

Score the face paper (or any filler meterial suitable of using) along a straightedge, snap the board, and cut the backing paper. Test the fit before fastening.

Step 5: Make the New Piece Fit
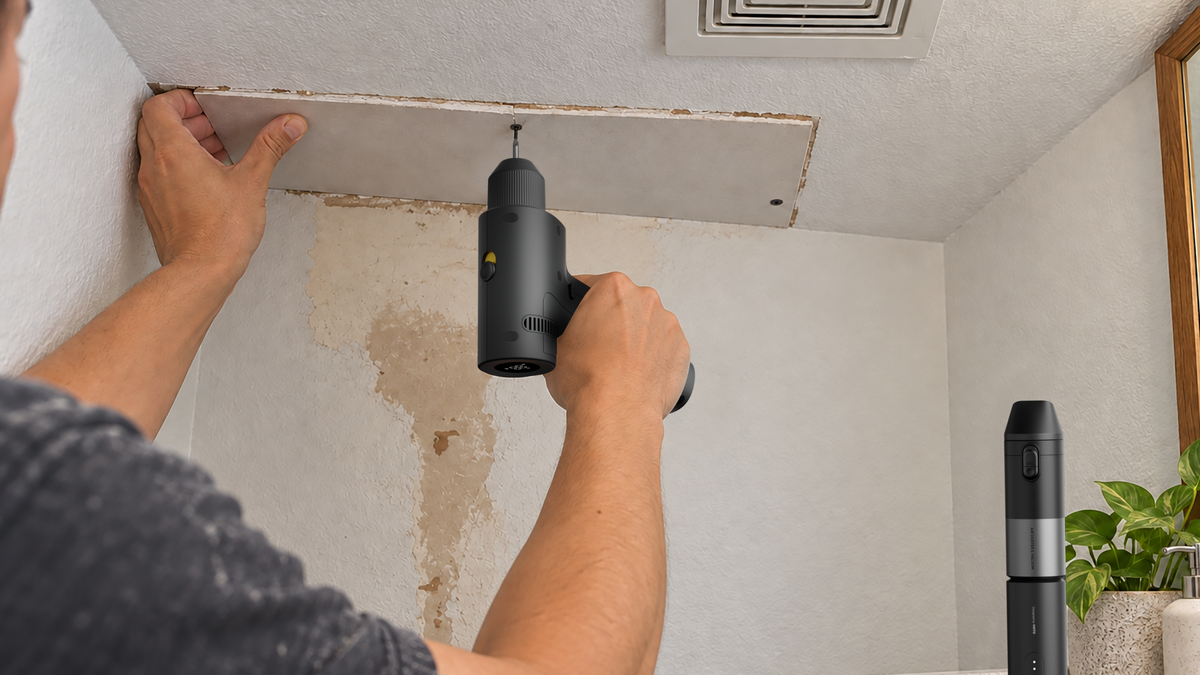
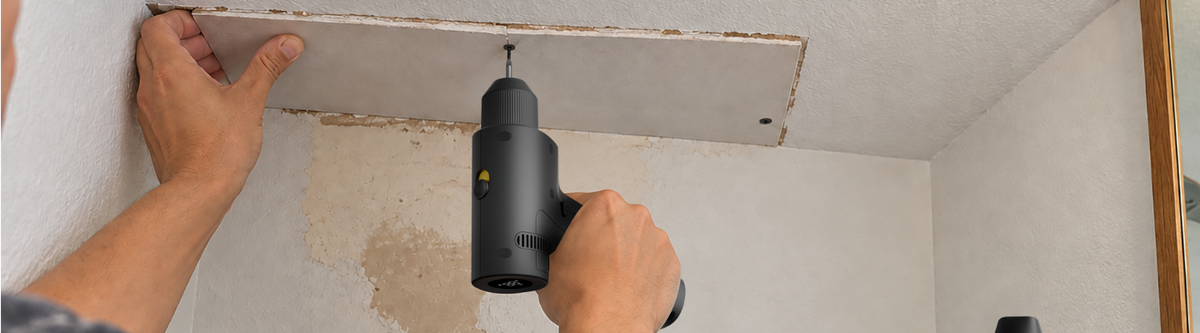
Use an appropriate Drill, drive drywall screws through the panel into the framing or backing.

Start with a low torque setting and stop with each screw head slightly below the surface, keeping the filler material intact.

Step 6: Tape up the seams
Apply self-adhesive fiberglass mesh tape over clean, dry, flat seams.


Tips:
If the mesh began to sag as the compound was applied to the ceiling, a simple solution would be to remove the loose section, and apply a thin coat of primer on the clean, dry seam. Once the primer had dried, reapply the tape and this should fix the problem if occurd.
Step 7: Build Up and Smooth the Repair
Cover the mesh and any unwanted screw-marks with the setting-type joint compound. Build up thin coats, usually two or three layers are enough, widening each layer to soften the transition into the existing ceiling.
Follow the recommended recoating intervals. Skim other damaged areas as needed, following preparation and recoating instructions. Once fully dry, sand lightly and check under angled light for ridges.

Tips: Smooth each coat as you go. Your sanding arm will thank you.
Step 8: Restore the Texture
For a textured ceiling, choose a ceiling-suitable spray that matches the existing pattern. Follow its surface-preparation instructions, including any primer required before spraying.
Practice on scrap drywall first, then apply controlled passes to blend the repair into the surrounding texture. Skip this step for smooth ceilings.

Step 9: Prime the Repair
Once the texture is dry, complete any priming required by the texture and paint instructions. Use a compatible stain-blocking primer where old water stains remain on dry, sound surfaces.
Remember to follow ventilation and drying requirements before painting.

Step 10: Match and Apply the Paint
Match both the original color and sheen. If the color is unknown, take a safely obtained paint sample to a paint store for matching.

Apply the recommended number of coats, allowing drying time between them. Check the result once dry. If the patch remains noticeable, repainting the entire ceiling can create a more consistent finish.

Step 11: Clean Up
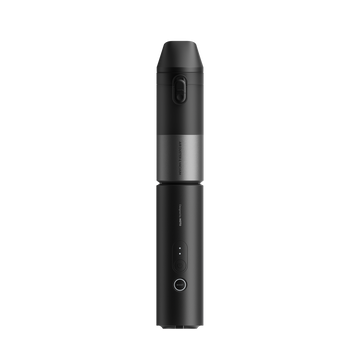
After all works are settled, give the room a quick tidy. Collect offcuts and remove drywall dust with a suitable vacuum such as the HOTO AutoCare Plus Air Duster & Vacuum, its also the best chance to get rid of everyday dry dust and hair around nearby fixtures.

Tools Used in This Project
HOTO 16V Brushless Drill: Adjustable torque for controlled screwdriving when securing the patch.
HOTO AutoCare Plus Air Duster & Vacuum: Its crevice nozzle reaches tight spots for everyday dry dust and hair. Reserve it for ordinary household cleanup after construction debris and sanding dust have been removed with suitable equipment.

Author: HOTO PR team
Source: HOTO Talent